A DIY jewelry box for mother’s day gift is a heartfelt and meaningful gift that any mother would cherish.
Unlike store-bought options, a handmade jewelry box carries a personal touch, making it a perfect way to show love and appreciation on Mother’s Day.
It could be simple or intricate, creating a jewelry box allows you to design something unique that suits your mom’s style and personality.
It’s not just a storage piece, it’s a keepsake that holds sentimental value.
Let us brainstorm on some creative ways to craft a beautiful DIY jewelry box that will make this Mother’s Day truly special.
29 BEAUTIFUL DIY JEWELRY BOX FOR MOTHER’S DAY GIFT
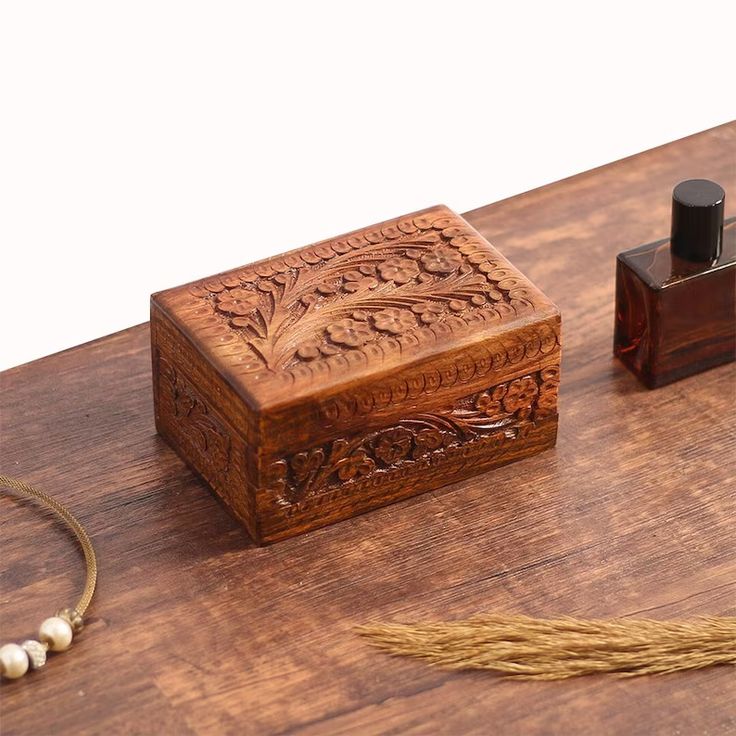
1. Wooden Jewelry Box with Engraving
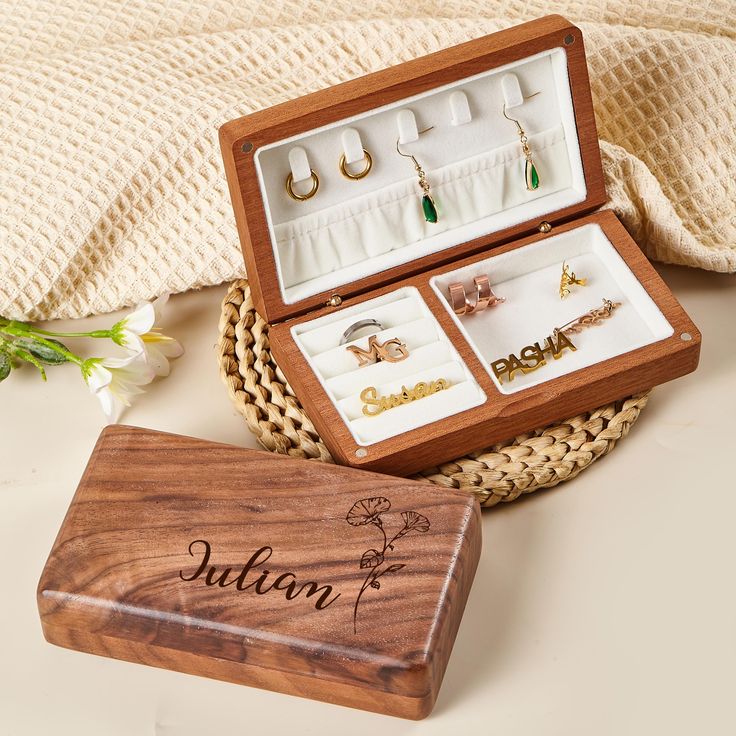
Start with a plain wooden jewelry box, which you can find at craft stores.
Use a wood-burning tool to engrave initials, a heartfelt message, or a floral pattern.
You can also stain or paint the wood for a more polished look. Finish with a clear sealant to protect the design.
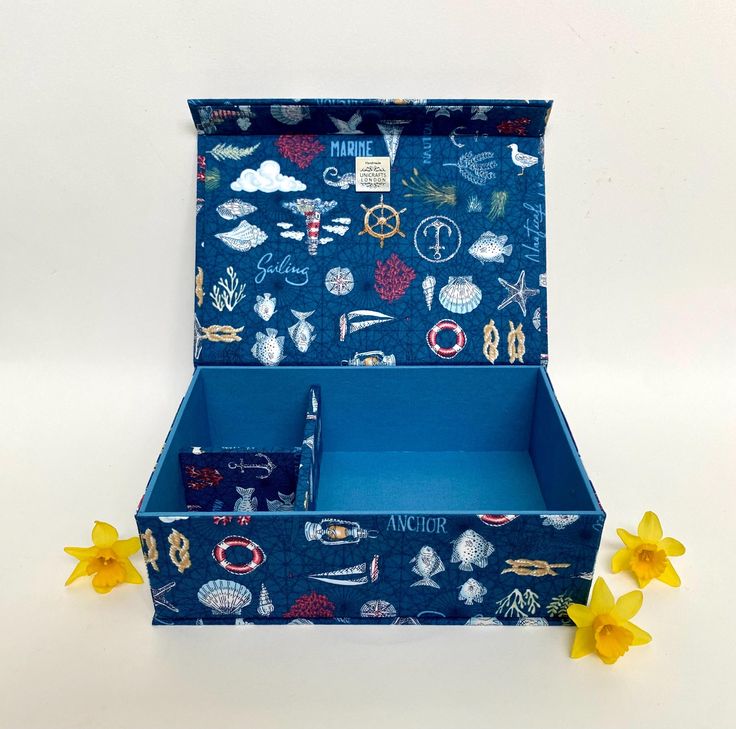
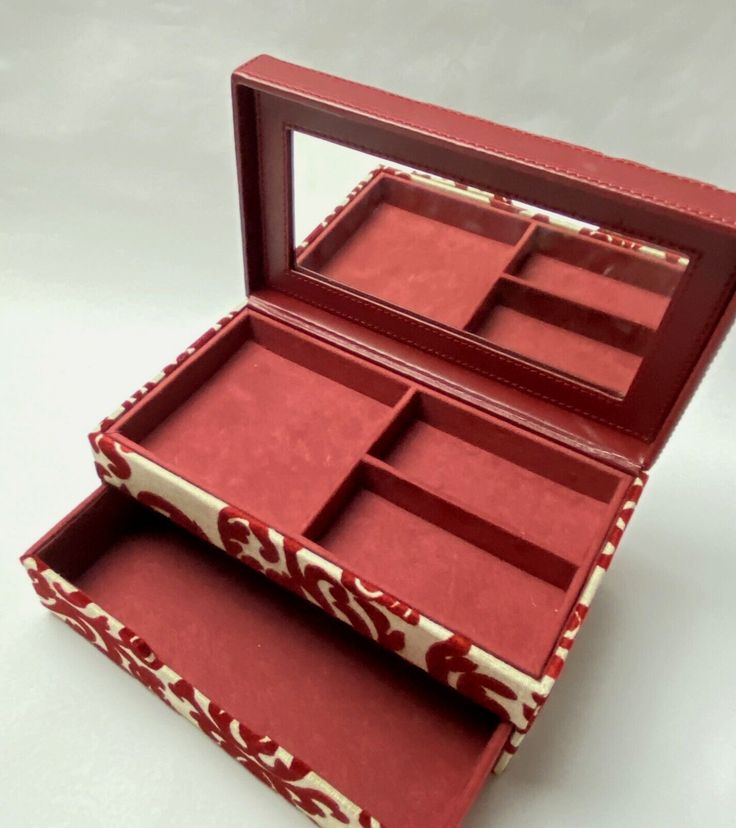
2. Fabric-Covered Jewelry Box
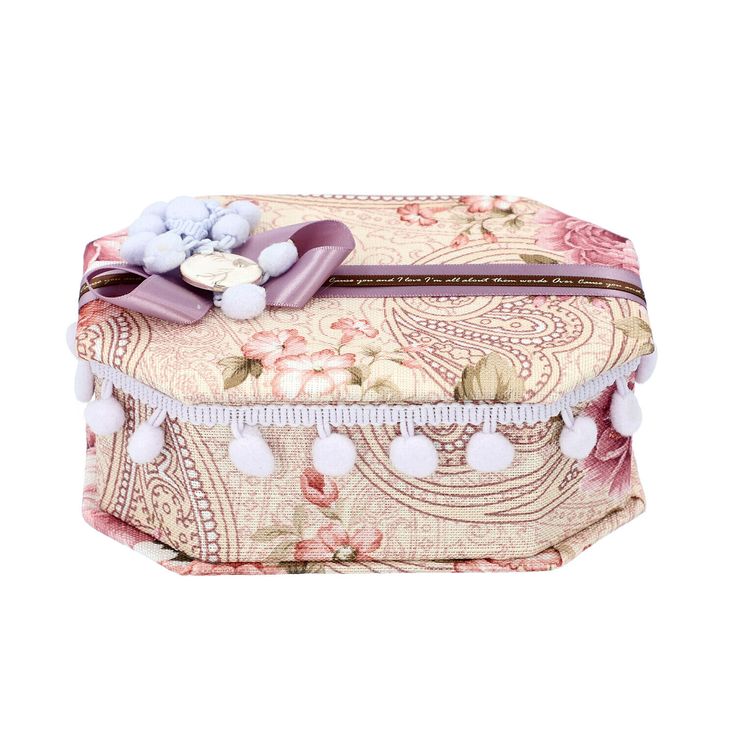
Choose a sturdy box (wooden or cardboard) and cut fabric slightly larger than each side.
Use fabric glue or a hot glue gun to attach the fabric, smoothing it out as you go.
Add decorative trims like lace or ribbon to enhance its elegance.
3. Decoupage Jewelry Box
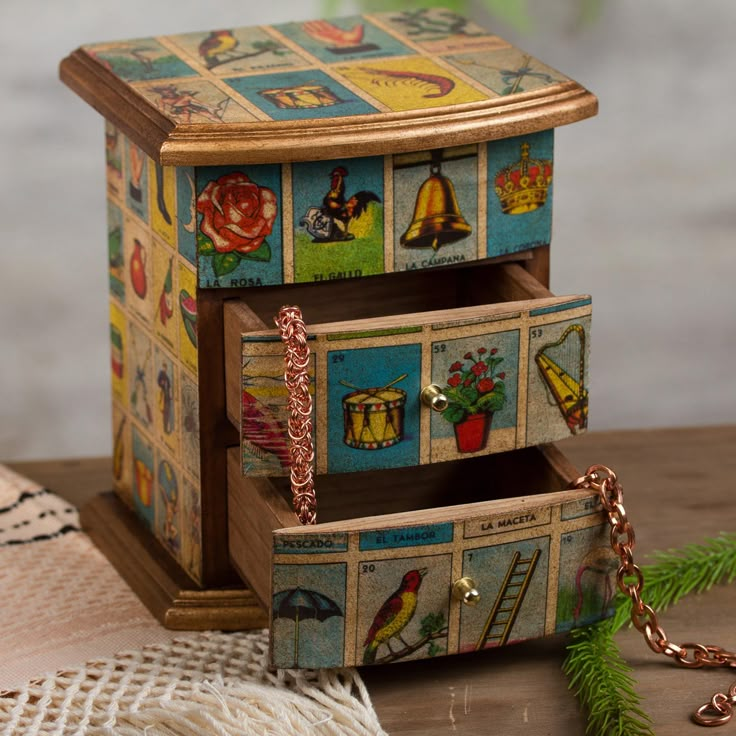
Select a wooden or cardboard box and gather decorative paper, magazine cutouts, or floral napkins.
Apply Mod Podge to the surface, place your cutouts, and seal them with another layer of Mod Podge.
Let it dry completely for a smooth finish.
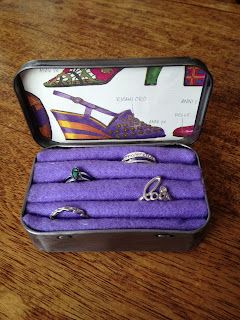
4. Upcycled Tin Jewelry Box
Source
Repurpose an old mint tin by painting the exterior with acrylic paint.
Line the inside with soft fabric or felt.
Decorate the lid with rhinestones, pearls, or tiny charms to make it look elegant.
5. Vintage Book Jewelry Box
Find an old hardcover book and use a craft knife to carefully cut out a hollow space in the pages.
Glue the edges together for stability.
Line the hollowed-out section with felt or fabric, and add a small latch or ribbon closure for a finished look.
6. Clay Jewelry Box
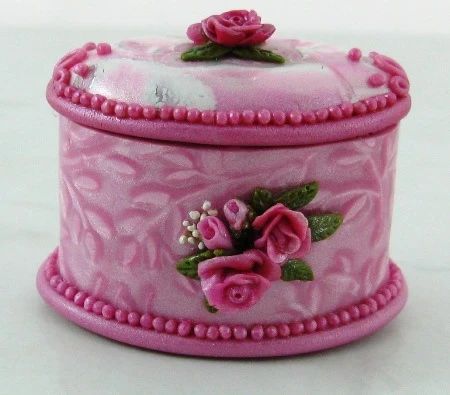
Use air-dry or polymer clay to shape a simple box and lid.
You can use cookie cutters or molds for an even shape.
Add textures using lace or stamps before drying. Once hardened, paint and seal it for durability.
7. Origami Jewelry Box
Use high-quality decorative paper to fold an origami jewelry box.
You can find tutorials online for different styles, such as square or heart-shaped boxes.
This lightweight jewelry box is perfect for small pieces like rings and earrings.
8. Shadow Box Jewelry Organizer
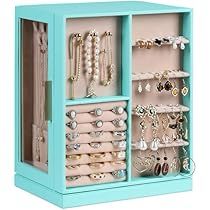
Convert a small shadow box into a jewelry holder by adding hooks for necklaces, fabric lining for a soft touch, and small compartments for different jewelry pieces.
9. Cardboard and Washi Tape Jewelry Box
Cut sturdy cardboard pieces into a box shape, securing them with glue.
Cover the entire surface with washi tape in different patterns and colors for a playful yet stylish finish.
10. Mosaic Tile Jewelry Box
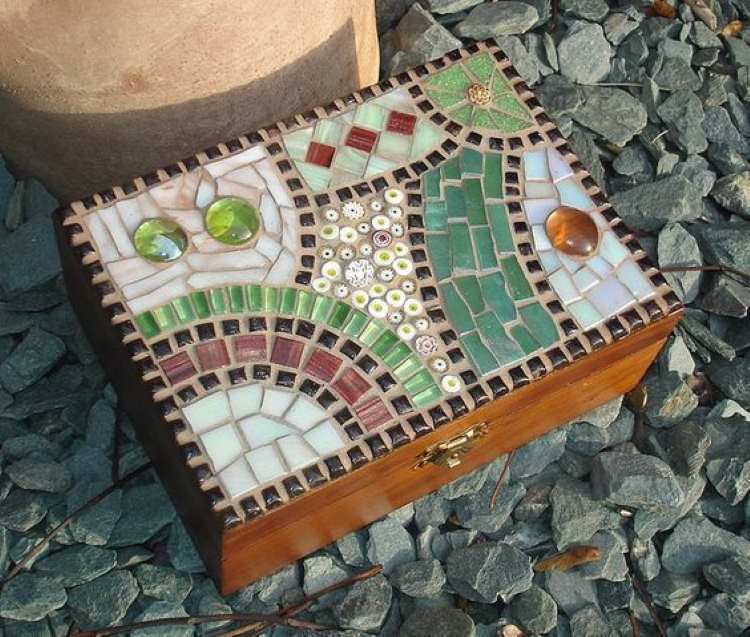
Take a wooden box and glue small mosaic tiles onto the lid in a pattern of your choice.
Once set, apply grout to fill the gaps, wipe off excess grout, and let it dry completely before sealing it.
11. Seashell Jewelry Box
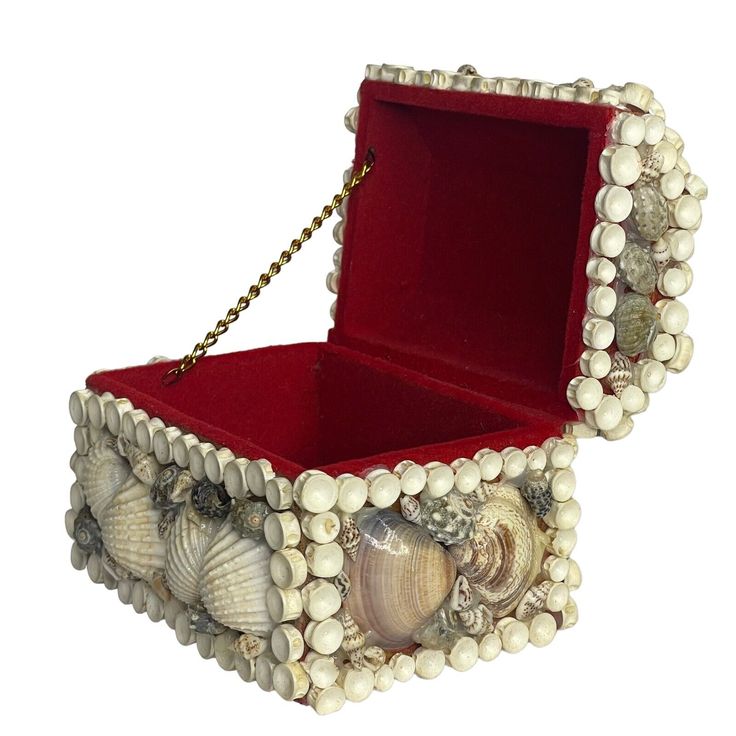
Collect small seashells and hot-glue them onto a wooden or glass box.
Arrange them in an artistic pattern, and optionally, add a pearl or glitter accents to enhance the oceanic theme.
12. Felt and Embroidery Jewelry Box
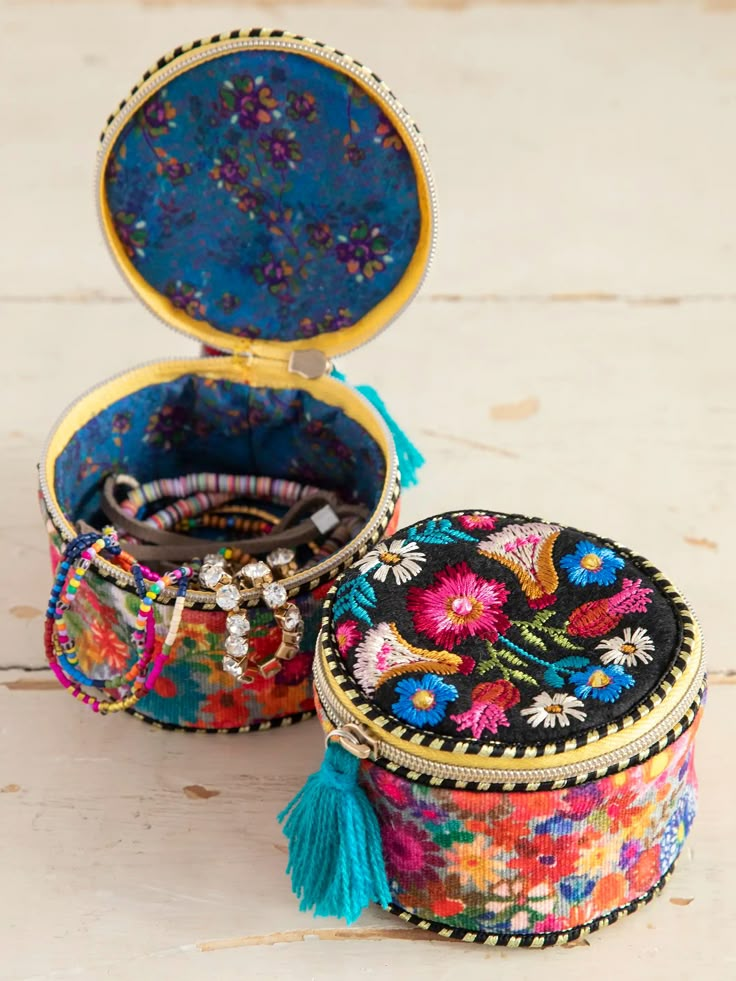
Use felt fabric to create a soft jewelry box.
Cut and sew pieces together, then embroider floral or name initials on the top for a personalized touch.
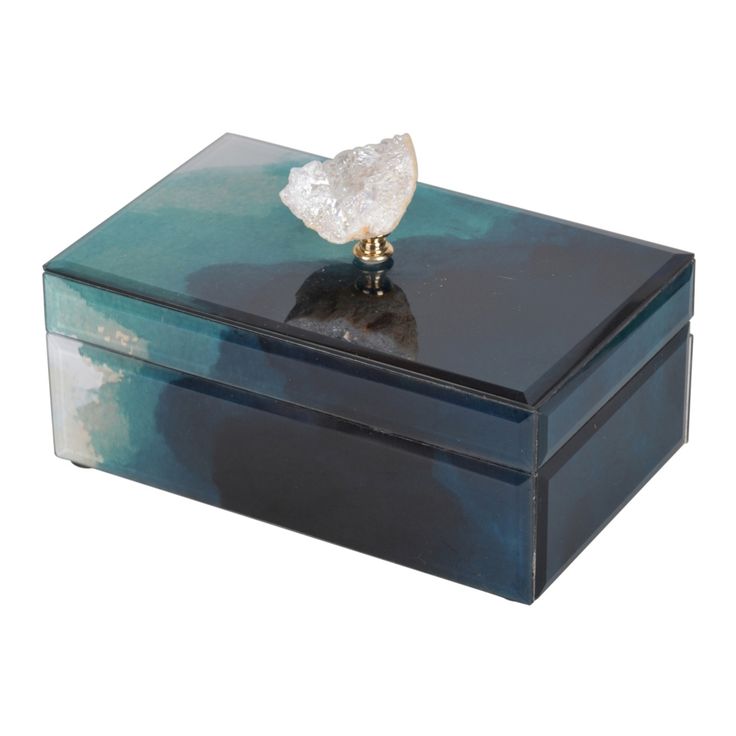
13. Glass and Mirror Jewelry Box
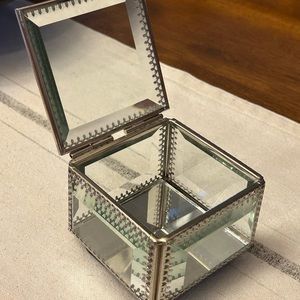
Source
Find a small glass box and decorate the edges with metallic trim or mirrored tiles.
You can also add etching designs to the glass for a sophisticated and elegant finish.
14. Lace-Covered Jewelry Box
Glue lace fabric over a plain jewelry box and seal it with a layer of Mod Podge for durability.
This creates a delicate and vintage-inspired aesthetic.
15. Cork Jewelry Box
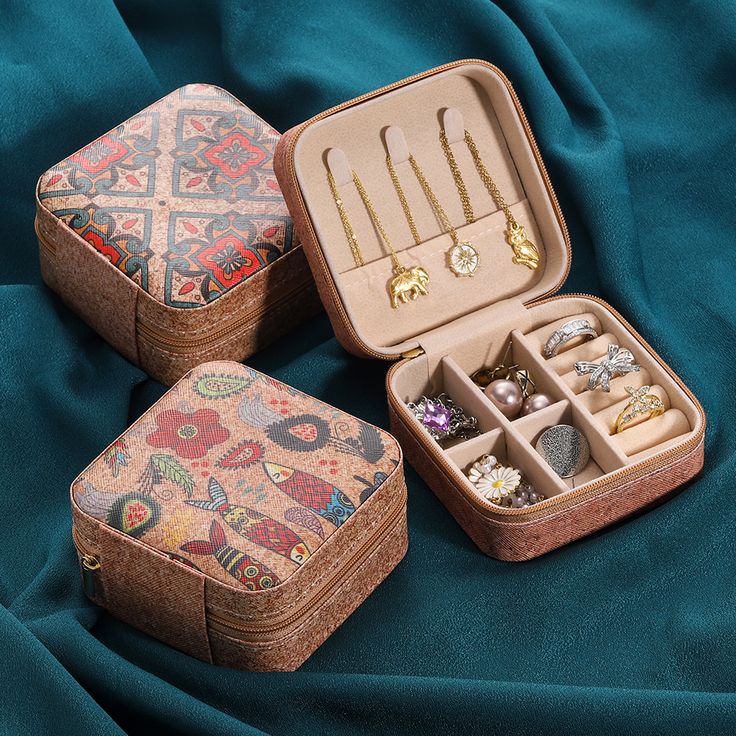
Cut cork sheets to fit a wooden or cardboard box.
Glue them on and personalize with stencil designs or handwritten messages using a fine-tipped paintbrush.
16. Beaded Jewelry Box
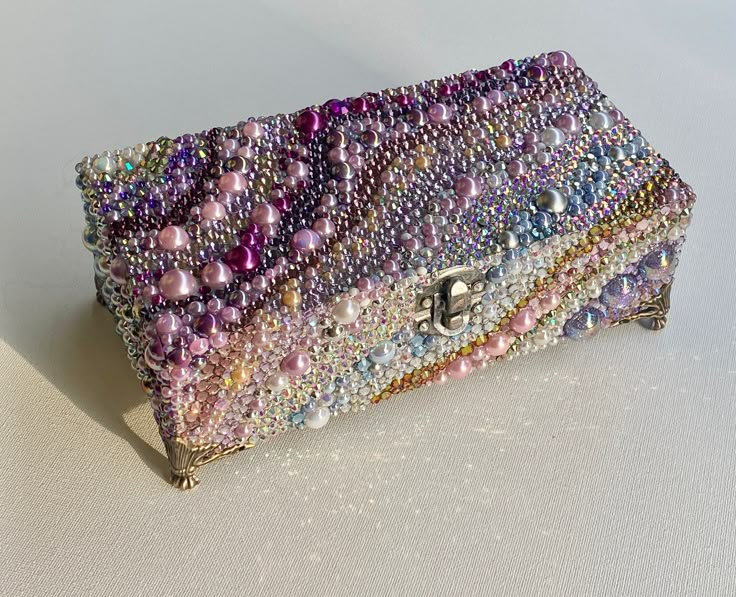
Glue small beads, pearls, or crystals onto the lid of a jewelry box in intricate patterns.
This adds a luxurious and sparkling effect, perfect for a statement gift.
17. Leather Jewelry Box
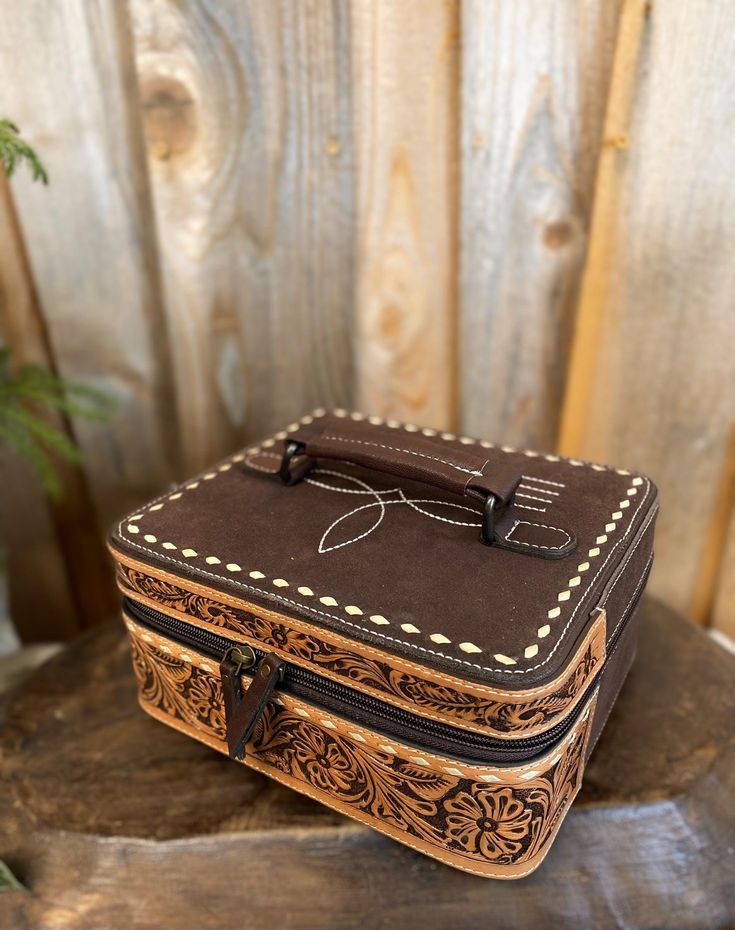
Cover a wooden or cardboard box with faux or real leather using glue or stitching techniques.
Add a snap button closure or a decorative buckle for a sleek finish.
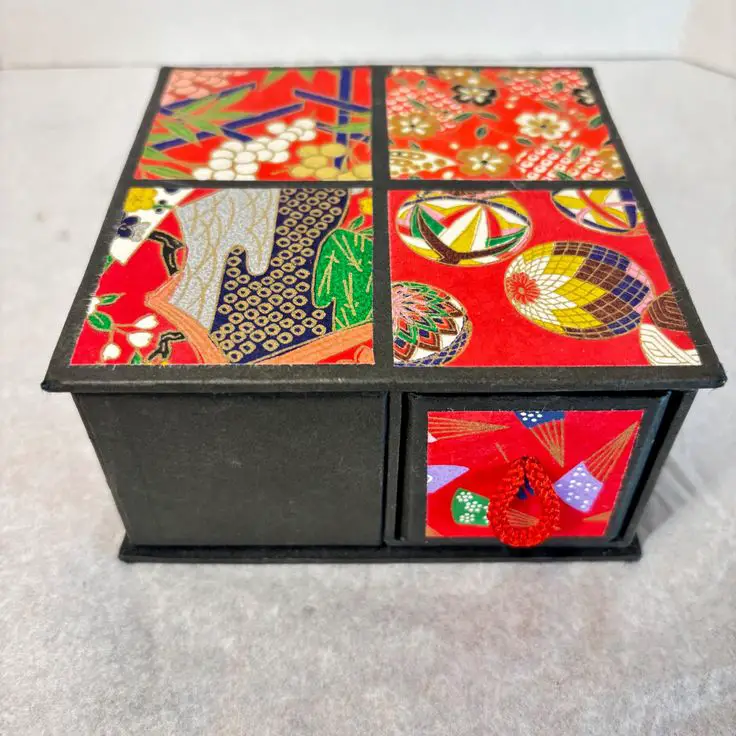
18. Drawer-Style Jewelry Box
Stack and glue small wooden crates or sturdy cardboard boxes to create a multi-compartment jewelry organizer.
Add tiny knobs or pulls for functionality.
19. Painted Jewelry Box with Metallic Accents
Hand-paint a plain jewelry box with designs like flowers, geometric shapes, or abstract art.
Use metallic gold or silver accents to add an elegant and artistic flair.
20. Puzzle Box Jewelry Storage
Glue together small wooden puzzle pieces to create an interlocking lid for a unique jewelry box design.
Paint and decorate the surface for a stylish finish.
21. Resin Jewelry Box
Use a resin mold to create a transparent or colored jewelry box.
Add dried flowers, glitter, or small trinkets inside the resin for a personalized effect.
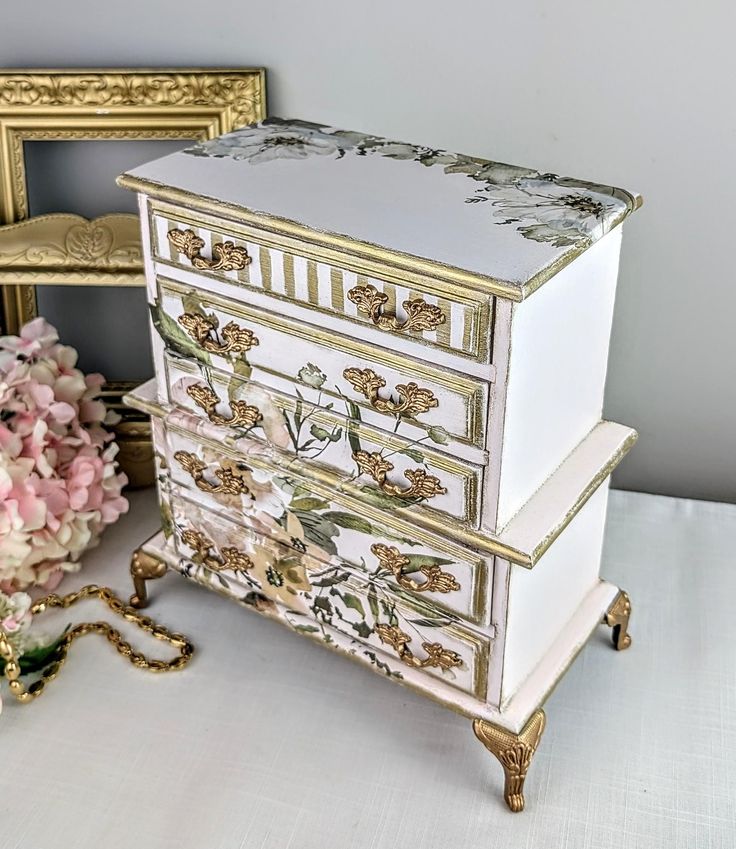
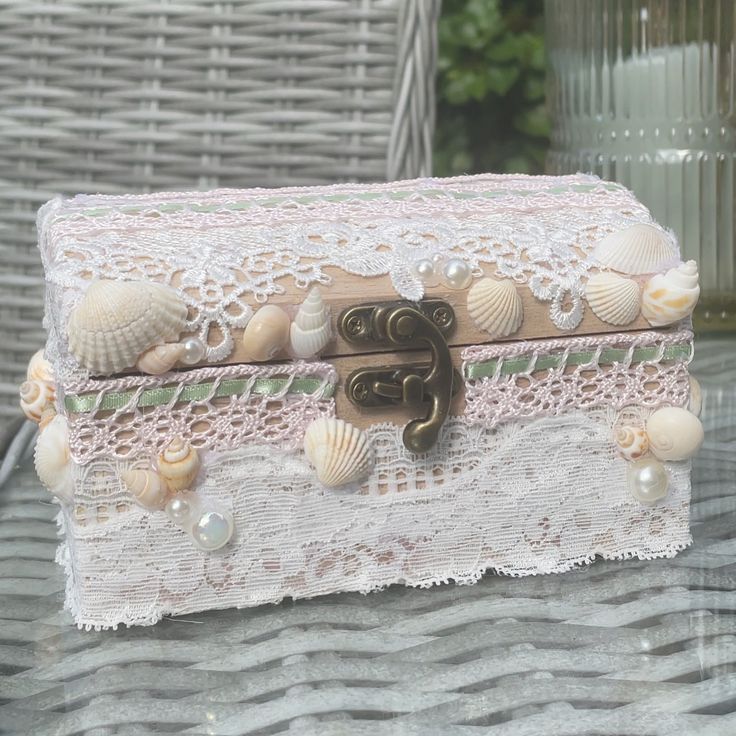
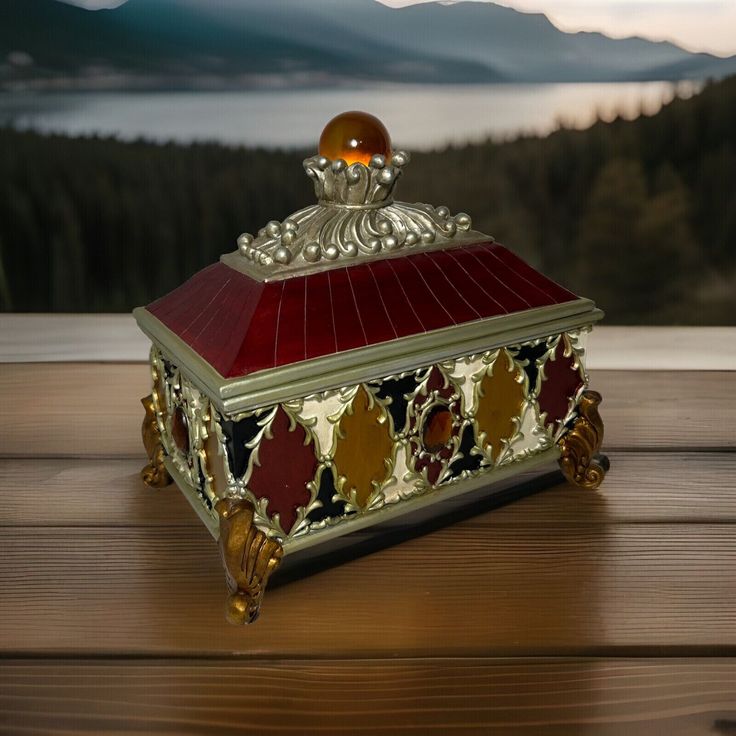
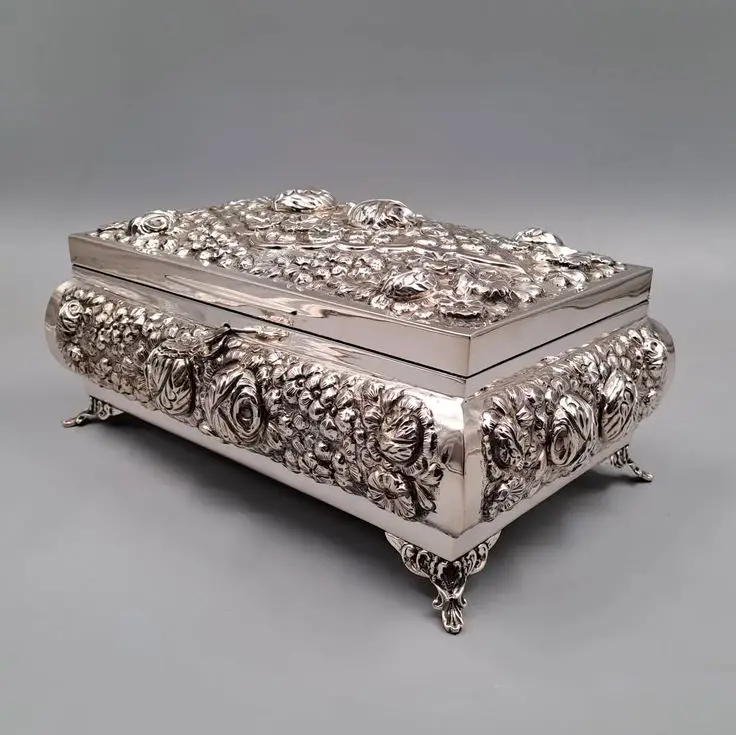
22. Embellished Wooden Chest Jewelry Box
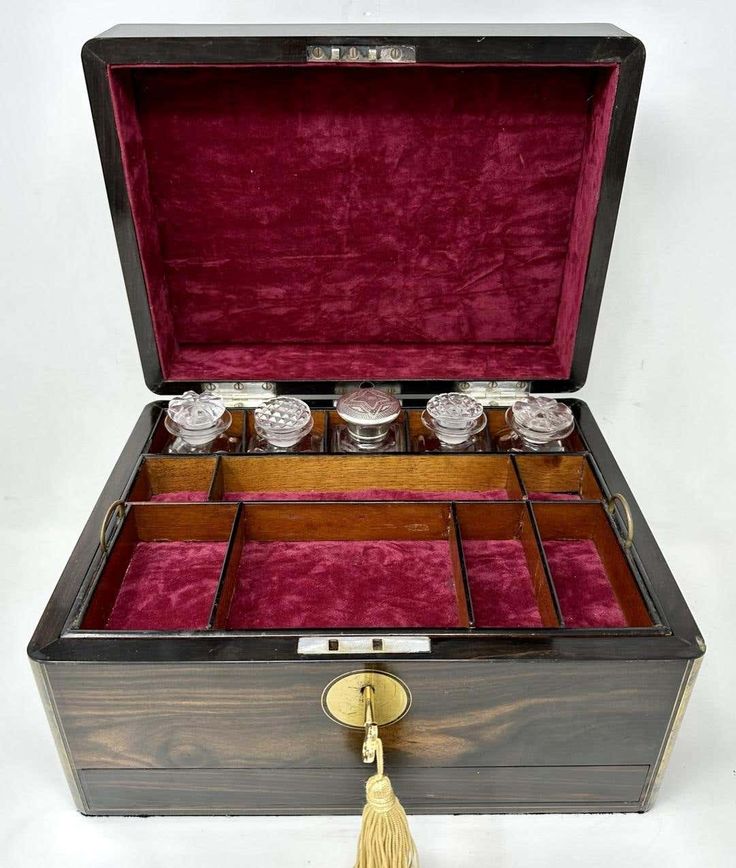
Start with a small wooden chest and embellish it with metal accents, pearls, or carved details.
You can also add decorative corner brackets for a vintage look.
23. Quilted Jewelry Box
Sew a quilted fabric cover and attach it to a sturdy box.
You can use soft padding underneath for a plush texture, making it feel luxurious.
24. DIY Jewelry Box with LED Lights
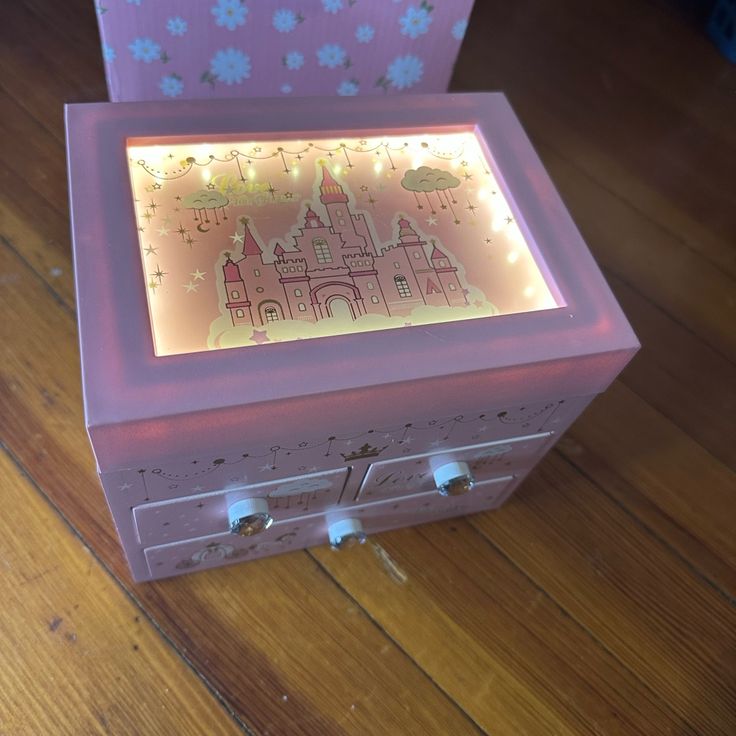
Install small LED lights inside the jewelry box lid so it illuminates when opened.
This creative DIY jewelry box for mother’s day gift adds a special, high-end touch that enhances the presentation.
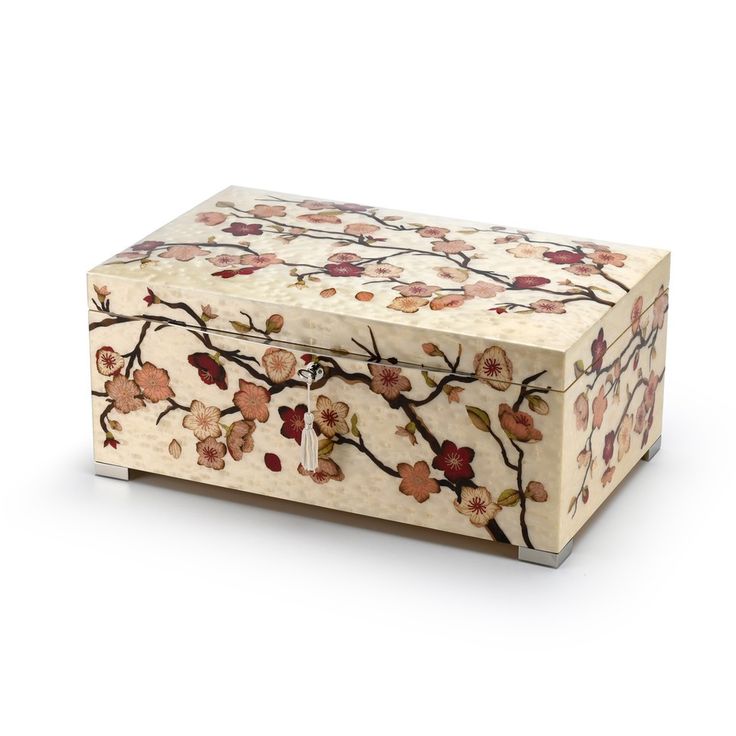
25. Personalized Photo Jewelry Box
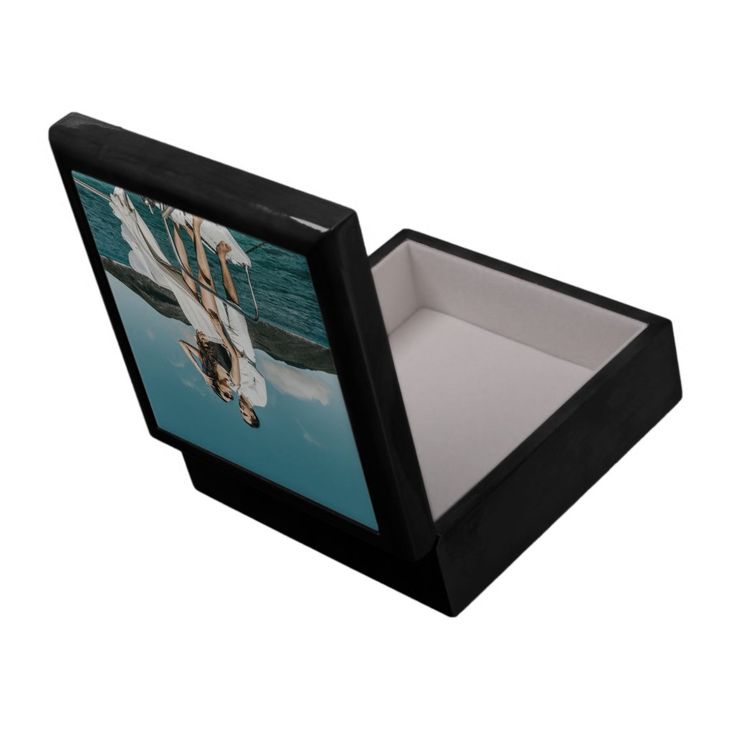
Print a special photo of you and your mom and attach it to the lid of the jewelry box.
Cover it with clear resin or glass to protect it, making it a sentimental keepsake.
26. Embossed Metal Jewelry Box
Use aluminum sheets or thin metal foil to create an embossed design on a wooden or cardboard box.
Press patterns into the metal using embossing tools, then attach it to the box for a stylish, antique look.
27. Upcycled Shoe Box Jewelry Organizer
Transform a small shoe box into a jewelry organizer by adding dividers inside using cardboard.
Cover the exterior with decorative paper, fabric, or paint for a polished finish.
28. Transparent Acrylic Jewelry Box

Use clear acrylic sheets to build a sleek, modern jewelry box.
Glue the pieces together with a strong adhesive and add small compartments for an organized, high-end look.
29. Woven Basket Jewelry Box

Weave thin wooden strips, rattan, or thick yarn to create a small basket-style jewelry box.
Line it with soft fabric or felt for a cozy, handcrafted touch.
A DIY jewelry box is more than just a place to store accessories, it’s a heartfelt keepsake that reflects love, creativity, and personal thoughtfulness.
You choose to craft a simple yet elegant design or an intricate and decorative piece, your handmade jewelry box will undoubtedly make Mother’s Day even more special.
The effort and care you put into creating something unique will be cherished far beyond the occasion.
Give your mom a beautiful, one-of-a-kind gift that she will treasure for years to come.
 |
ReplyForward |