Creative Easter Egg Decorating Hacks
Easter is a time of renewal, celebration, and, of course, colorful eggs.
Continuing a cherished family tradition or trying your hand at decorating for the first time, making beautiful Easter eggs doesn’t have to be complicated or messy.
With a little creativity and some clever tricks, you can turn ordinary eggs into miniature masterpieces, without the stress.
Let us share some game-changing hacks to help you achieve vibrant, eye-catching designs with ease.
Get ready to impress your friends and family with Easter eggs that look like they came straight from a professional’s basket.
23 UNIQUE EASTER EGG DECORATING HACKS
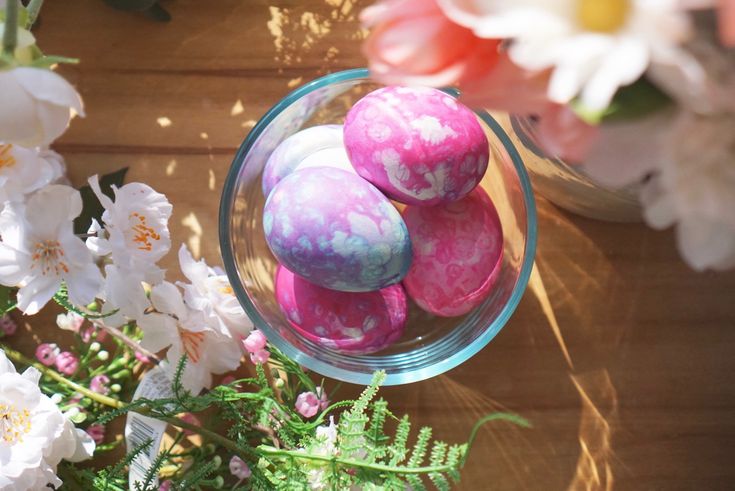
1. Whipped Cream or Shaving Cream Marble
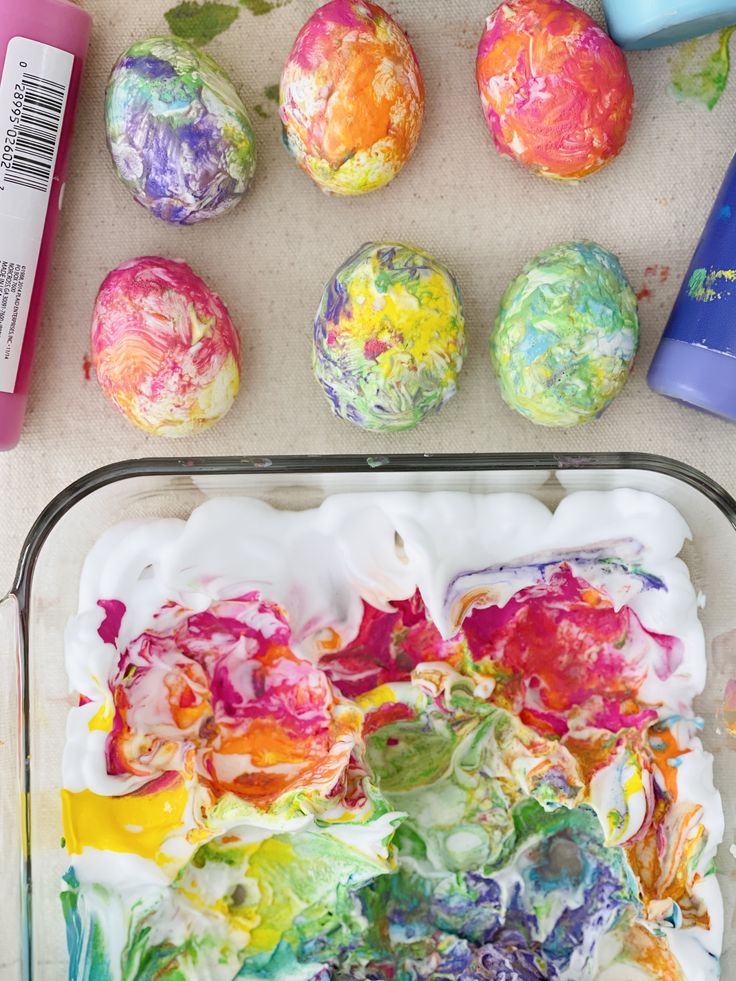
Spread whipped cream (or shaving cream) in a baking dish.
Add drops of food coloring and swirl with a toothpick.
Roll eggs through the mixture, ensuring they’re coated.
Let sit for 10–15 minutes, then wipe off gently for a marbled effect.
Use gel food coloring for more vibrant results.
2. Rice Shake Method

Pour a little uncooked rice into a container with a lid.
Add a few drops of food coloring and shake to mix.
Place an egg inside, close the lid, and shake until the egg is speckled.
Use different containers with various colors for multi-colored eggs.
3. Rubber Band Designs
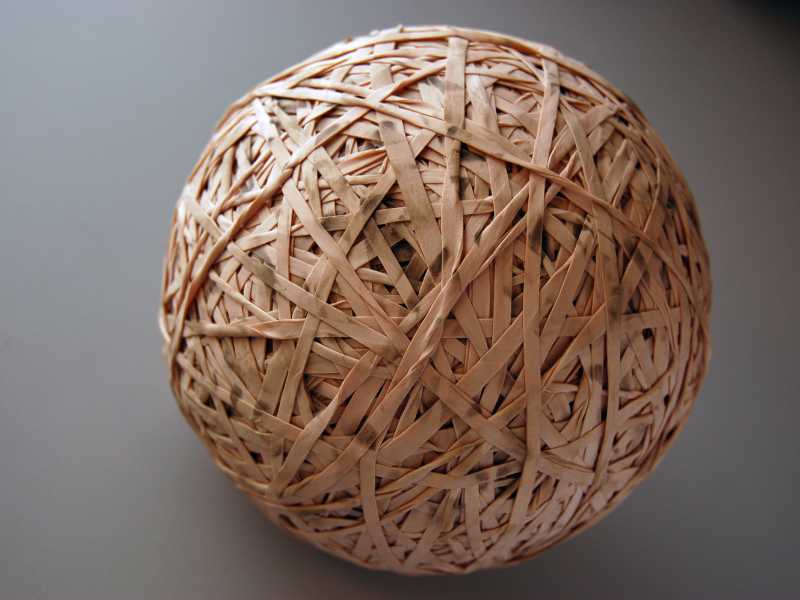 Wrap rubber bands around the egg in different patterns.
Dip the egg in dye and let it dry before removing the bands.
Use thin and thick rubber bands to create cool effects.
4. Crayon Resist
Use a white crayon to draw designs on a warm egg.
Dip the egg into dye, and watch the crayon design appear as the wax resists the color.
Warm eggs make the crayon glide on smoothly.
5. Kool-Aid Dye
 Mix Kool-Aid powder with a little water (no vinegar needed).
Dip eggs in for a vibrant, fruity-scented dye job.
Grape makes a deep purple, while lemon-lime gives a bright green.
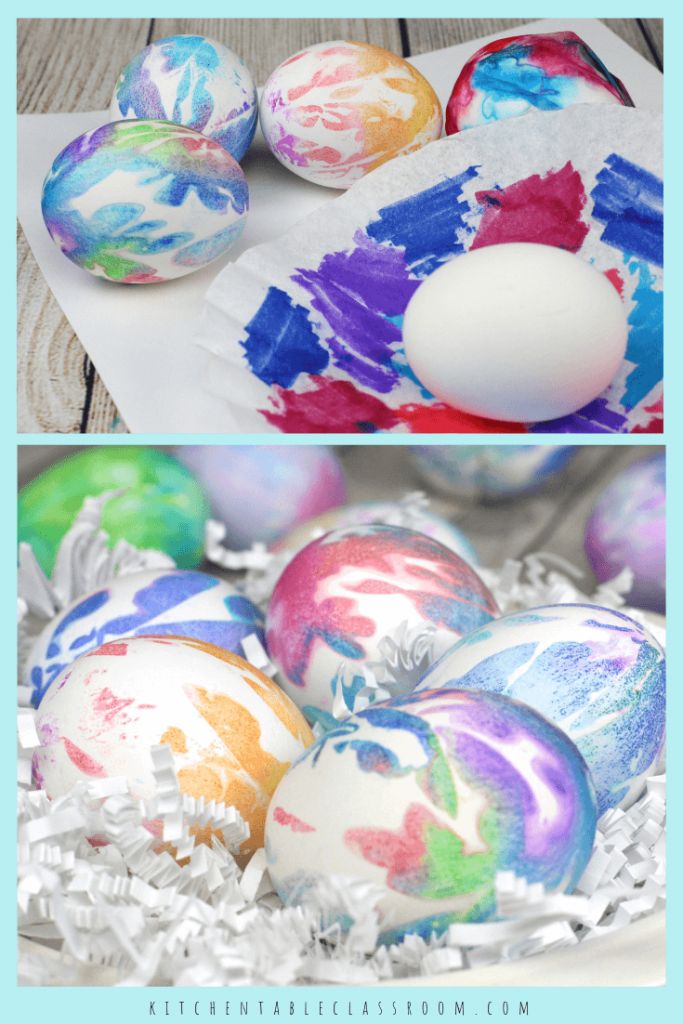
6. Tissue Paper Staining
Cut colored tissue paper into small squares.
Lightly wet the egg, press tissue paper pieces onto it, and let sit.
Peel off once dry to reveal a watercolor effect.
Tip: Use bleeding tissue paper for the best results.
7. Washi Tape Patterns

Cut washi tape into strips or shapes and stick them onto eggs.
Leave them on for a modern look, or dye the eggs first and remove the tape for cool designs.
Use metallic or patterned washi tape for extra flair.
8. Natural Dyes
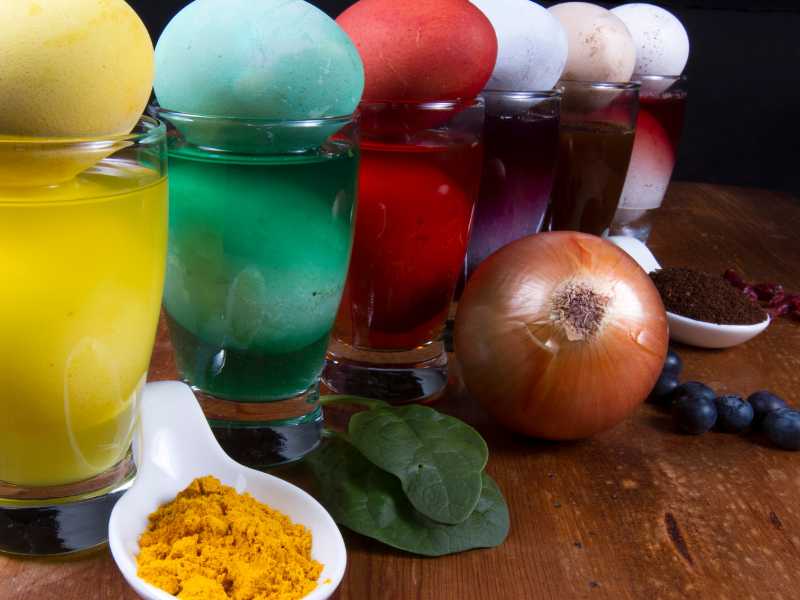 Simmer natural ingredients like onion skins, red cabbage, turmeric, or beets in water.
Add vinegar and let eggs soak for natural, earthy colors.
The longer you soak, the deeper the color!
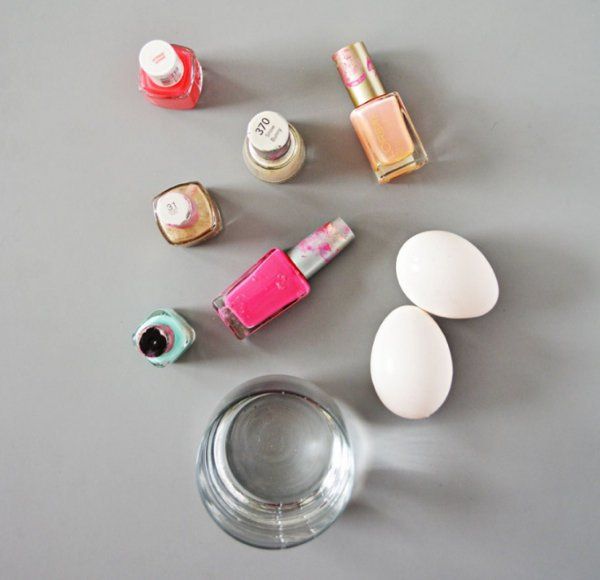
9. Nail Polish Marbling
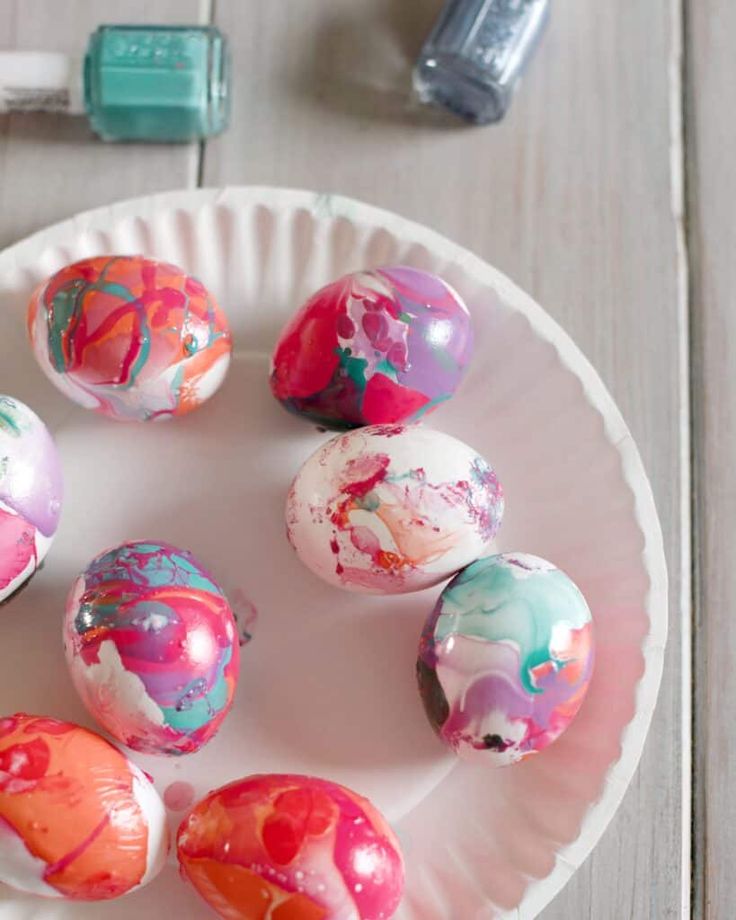
Fill a bowl with water and add a few drops of nail polish.
Swirl with a toothpick, then quickly dip the egg in and remove it.
Work fast—nail polish dries quickly.
10. Sticker Stenciling
 Apply small stickers to eggs (stars, hearts, or letters work well).
Dip in dye, let dry, then peel off the stickers to reveal white shapes.
Use vinyl stickers for crisp lines.
11. Watercolor Painting
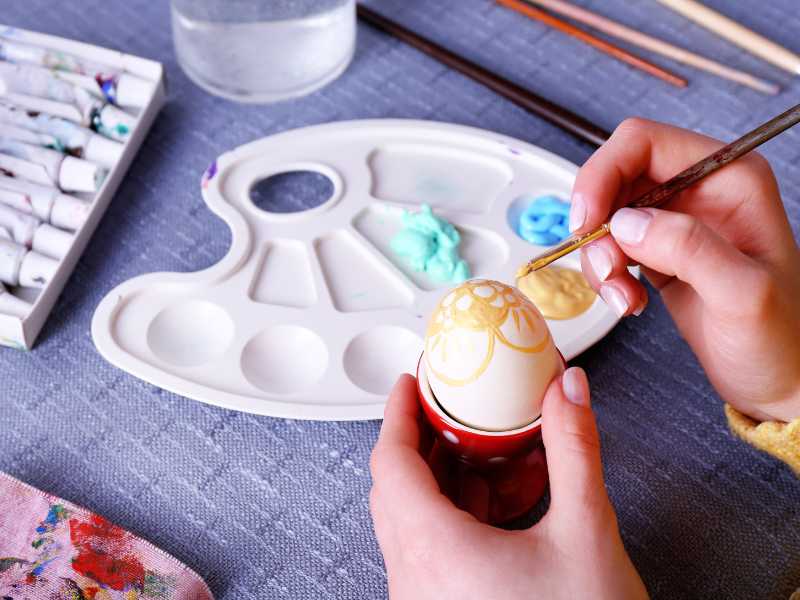 Mix food coloring or watercolors with a little water.
Use a paintbrush to gently paint eggs in soft, blended strokes.
Layer colors for a beautiful ombré effect.
12. Glitter Glam
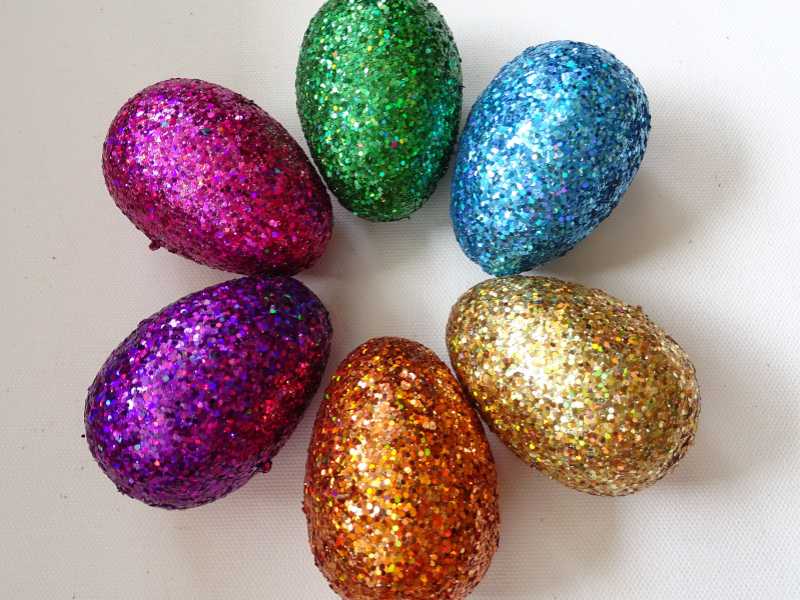 Brush eggs with craft glue and sprinkle with glitter.
Let dry and shake off excess.
Use extra-fine glitter for a smooth, elegant look.
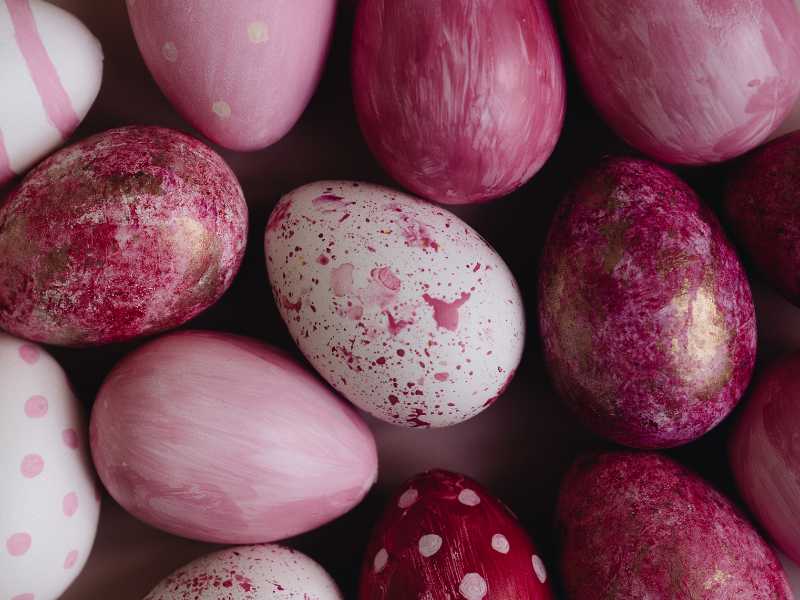
13. Gold Leaf Accents
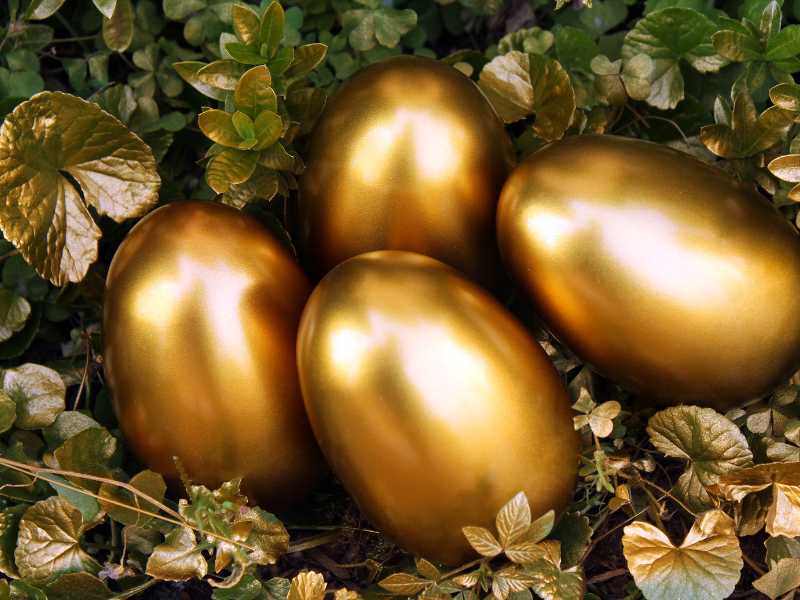 Apply a little adhesive to the egg.
Carefully press on gold leaf sheets, smoothing them down.
Use a soft brush to remove excess gold leaf.
14. Decoupage Napkin Art
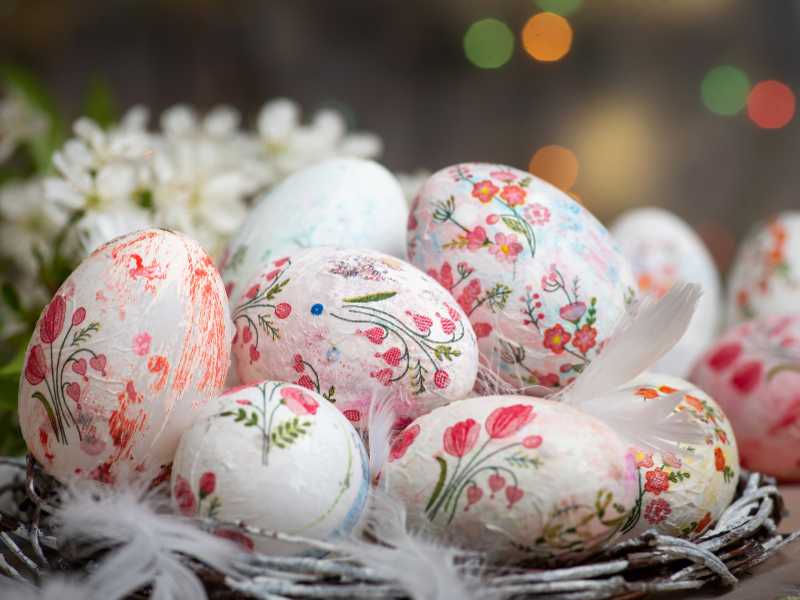 Separate printed napkins so you have just one thin layer.
Apply Mod Podge to the egg, press the napkin piece on, and smooth out wrinkles.
Use floral or vintage napkins for a delicate look.
15. Bubble Wrap Texture
Paint bubble wrap with acrylic paint.
Gently press the egg against it, then lift for a cool pattern.
Try multiple colors for a layered effect.
16. Sharpie Doodles
 Use fine-tip Sharpies to draw designs, patterns, or even write names.
Metallic Sharpies look stunning on dyed eggs.
17. Melted Crayon Drip

Hold a crayon over a warm egg and let the wax melt onto it.
Swirl and mix colors for a vibrant effect.
Use a blow dryer to help blend the melted wax.
18. Lace Wrap Dyeing
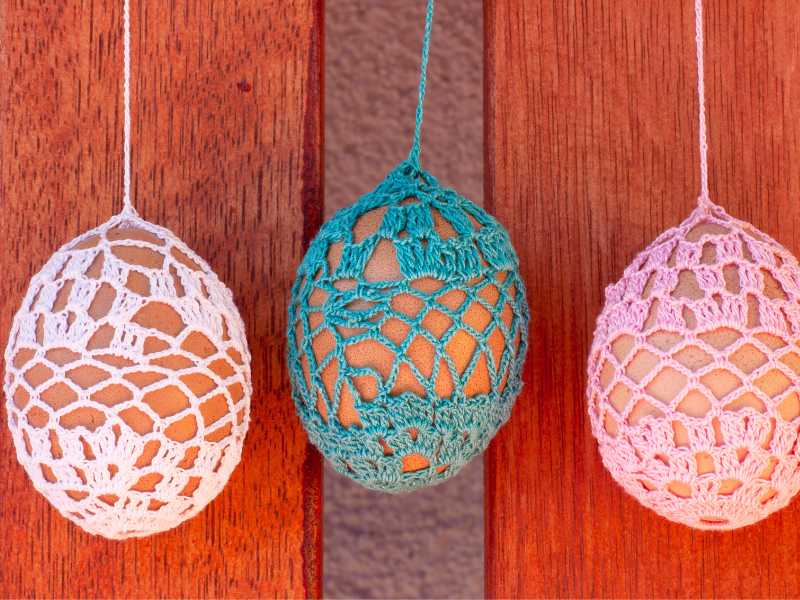 Wrap eggs in lace fabric, securing it with a twist tie.
Dip in dye, then carefully remove the lace for a delicate pattern.
White lace works best for even patterns.
19. Chalkboard Paint Eggs
 Paint eggs with chalkboard paint and let dry.
Use chalk to draw fun designs or write messages.
Great for reusable, interactive Easter eggs.
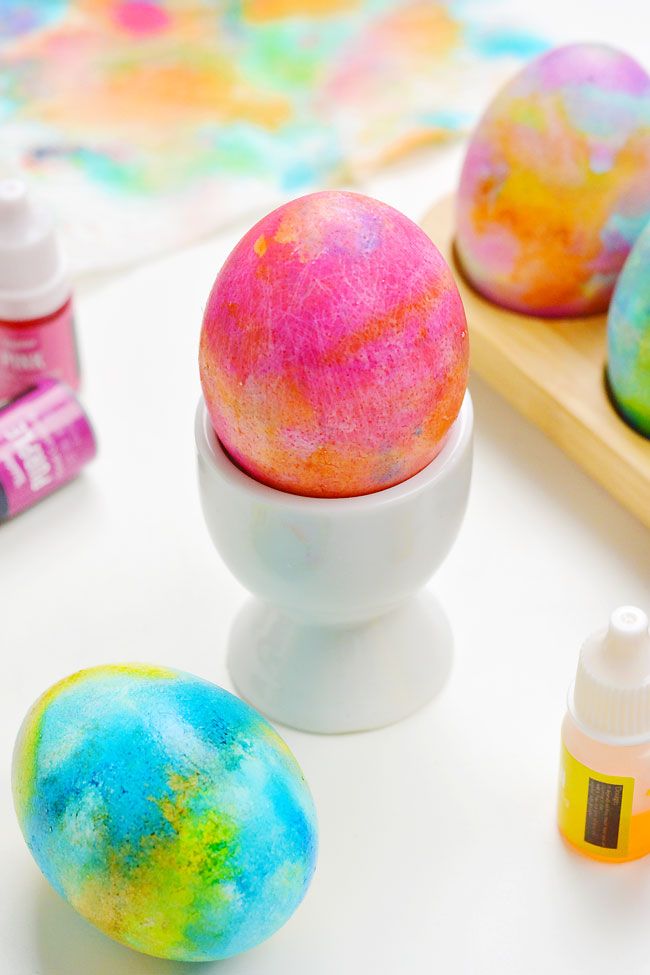
20. Coffee Filter Tie-Dye
Wrap an egg in a coffee filter.
Drip different colors of food coloring onto it and spritz with water.
Let dry, then unwrap for a tie-dye effect.
Layer multiple colors for a rainbow look.
21. Cotton Swab Designs
Dip a cotton swab into dye and dot or paint patterns onto eggs.
Use different swab tips for varied textures.
This is one of the perfect easter egg decorating hacks.
22. Glow-in-the-Dark Eggs
Mix glow-in-the-dark paint with a little water.
Paint the eggs and let them charge under light.
Use neon colors for a bright daytime effect too.
23. Temporary Tattoo Transfer
Apply a temporary tattoo onto an egg the same way you would on skin (with a damp cloth).
Metallic tattoos give an elegant look.
This is one of the best creative easter egg decorating hacks.
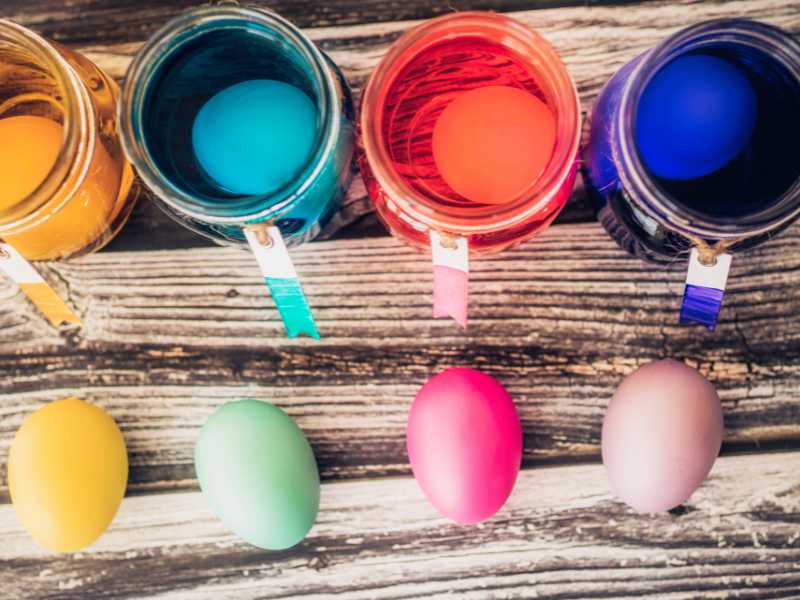
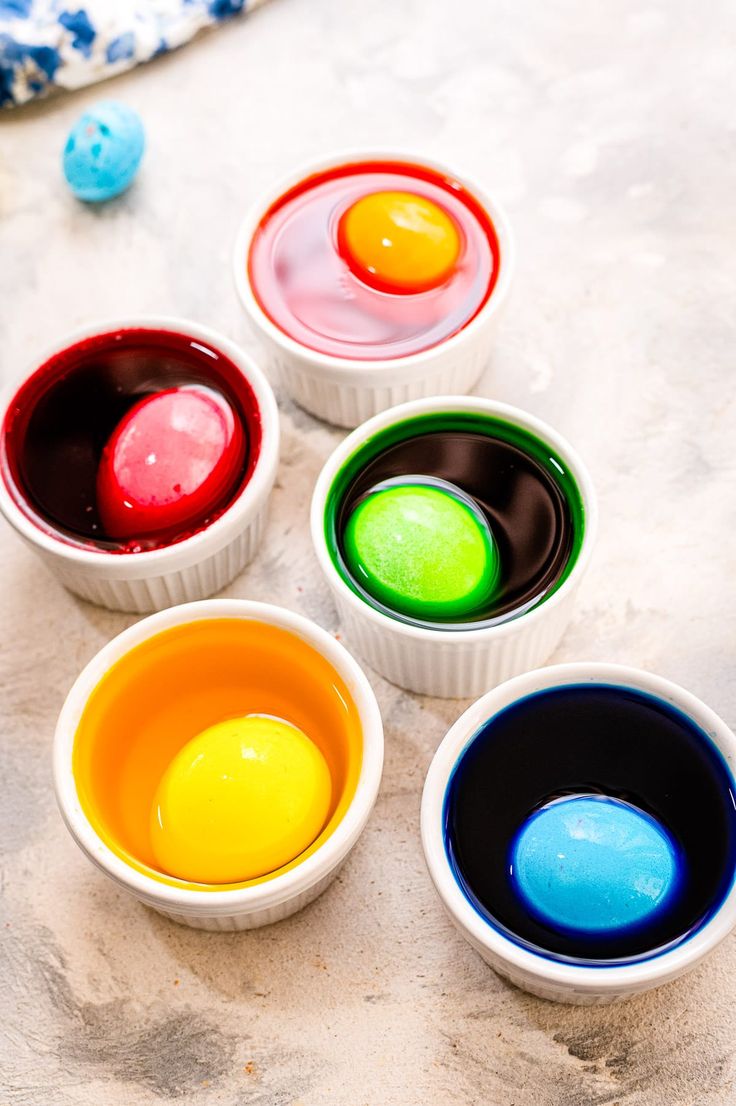
HOW TO MAKE DYED EGGS MORE VIBRANT
1. Use White Eggs
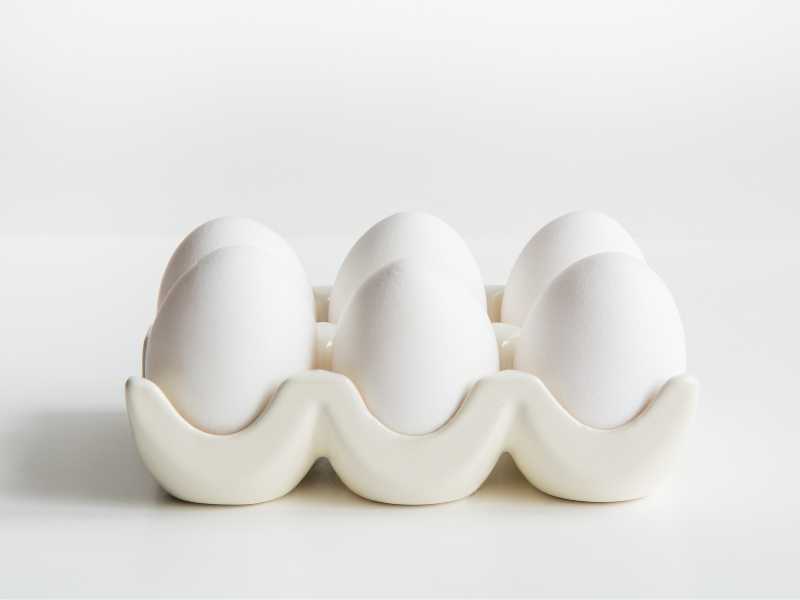 Brown eggs can mute colors, while white eggs make dyes appear brighter and more vivid.
2. Add Vinegar to the Dye

Why? The acidity in vinegar helps the dye bond to the eggshell, making colors pop.
How? Mix 1/2 cup of warm water + 1 teaspoon of vinegar + food coloring.
3. Use Gel Food Coloring
 Gel-based food colorings (instead of liquid) create deeper, richer shades.
Tip: Start with a small amount and add more as needed.
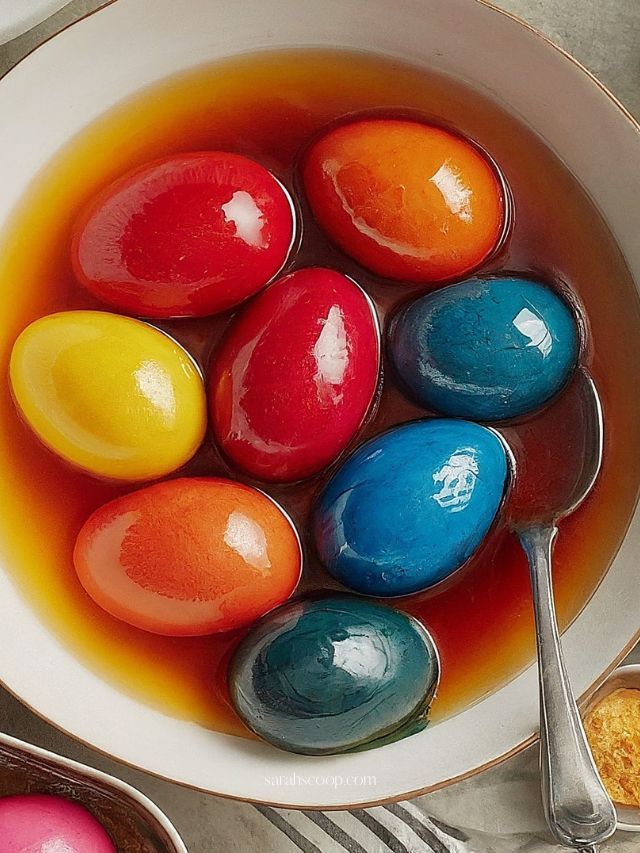
4. Let Eggs Soak Longer
The longer you soak, the brighter the color!
Try leaving eggs in the dye for 10–15 minutes or more.
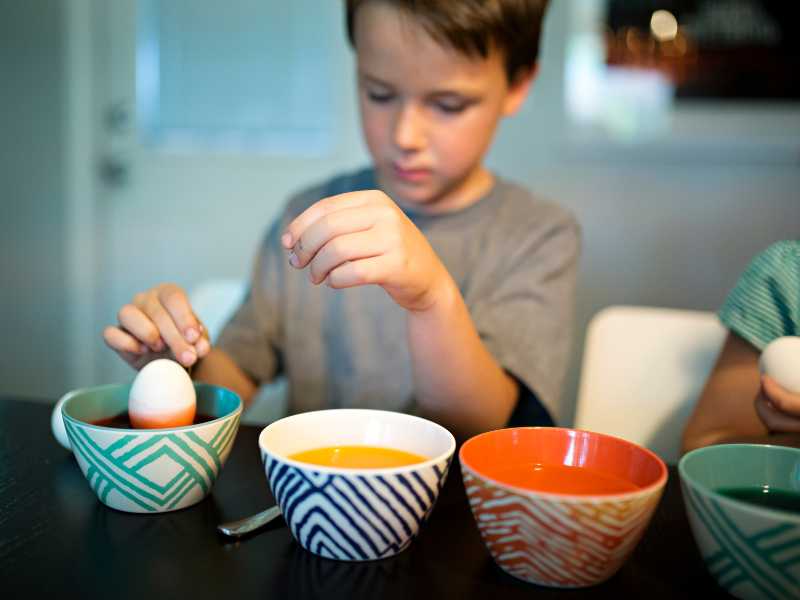
5. Use Warm Water
Warm water helps dye absorb evenly into the eggshell.
Avoid boiling water, as it can crack the eggs.
6. Double-Dip for Richer Colors
 For a deeper hue, let the egg dry and dip it in the same color again.
You can also layer different colors for cool blending effects.
7. Dry Eggs Properly

Let eggs air-dry without wiping to prevent streaks.
Use a drying rack or egg carton instead of paper towels.
8. Polish with Oil for a Shine
Once dry, rub eggs with a tiny bit of vegetable or coconut oil for a glossy, vibrant finish.
25 GORGEOUS EASTER TABLESCAPE INSPIRATION
21 CHARMING EASTER MANTEL DECOR
19 STUNNING EASTER CAKE DECORATING IDEAS
17 STUNNING EASTER HOME DECOR IDEAS
17 BEAUTIFUL EASTER WREATH DESIGNS
 |
ReplyForward |