This article will show you how to make cornrows with straight hair, a step-by-step comprehensive guide. Cornrows are a classic and versatile hairstyle that has stood the test of time.
Traditionally associated with textured hair, these intricate braids can also be beautifully adapted for straight hair.
Even if you are looking to add a stylish twist to your everyday look or preparing for a special occasion, learning how to create cornrows on straight hair opens up a world of creative possibilities.
This guide will walk you through the process step-by-step, ensuring that you achieve a polished and professional finish.
From preparation to execution, you’ll discover how to master this technique and enjoy the elegance and practicality of cornrows with your straight hair.
UNDERSTANDING CORNROWS
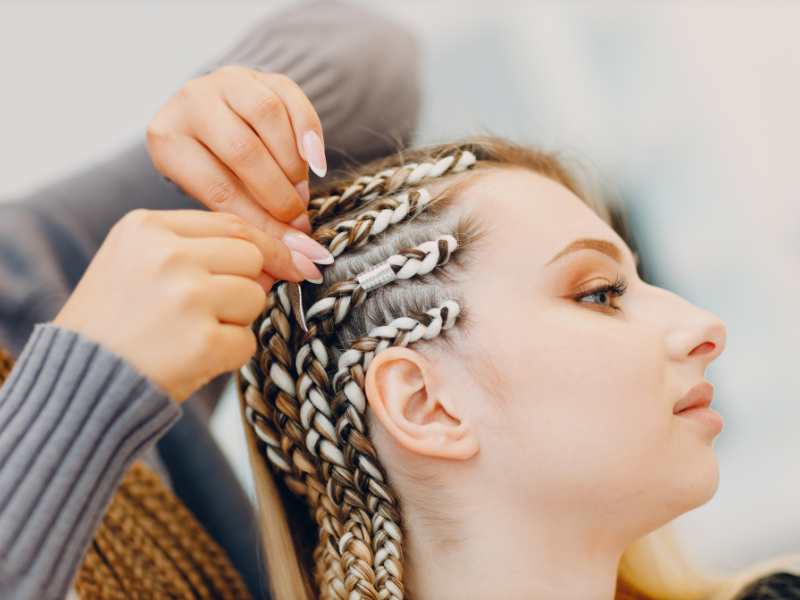
Cornrows are a traditional African hairstyle characterized by narrow rows of braids that lie close to the scalp.
These braids are created by weaving sections of hair into a pattern, resulting in a uniform and tight look.
While cornrows are commonly associated with textured or curly hair, they can be adapted for straight hair with the right techniques and preparation.
STEP-BY-STEP COMPREHENSIVE GUIDE TO MAKING CORNROWS WITH STRAIGHT HAIR.
Step 1: Preparation
Wash and Condition
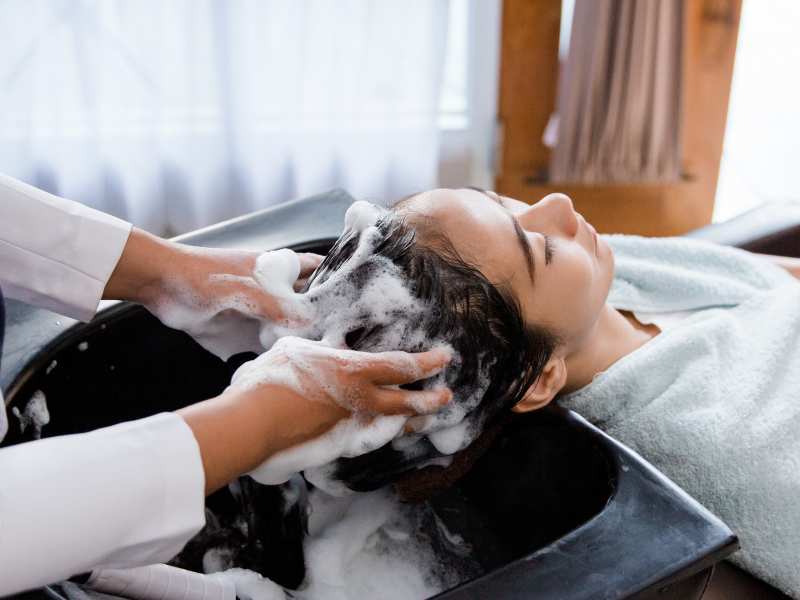 Start by washing your hair with a gentle shampoo and conditioner. This helps remove any residue and ensures your hair is clean and manageable.
Detangle
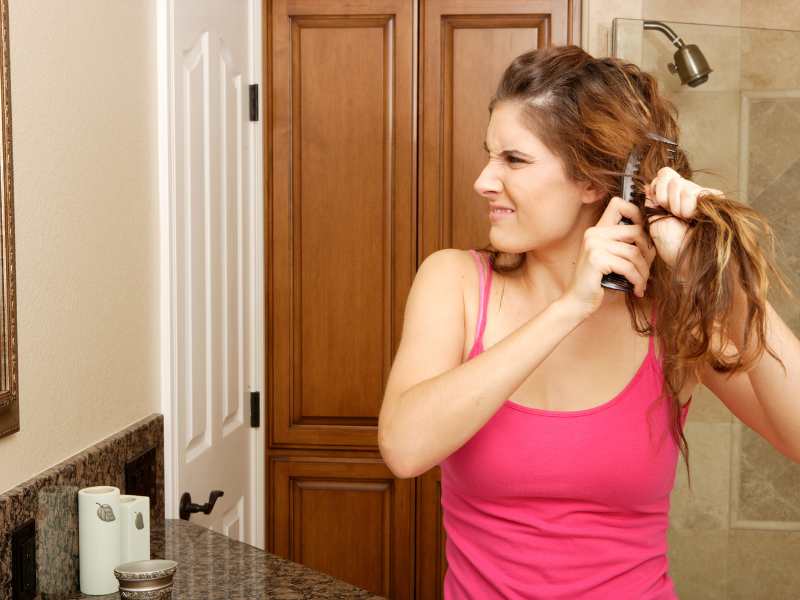 Use a wide-tooth comb or detangling brush to remove knots and tangles from your hair. This will make the braiding process smoother.
Apply Styling Products
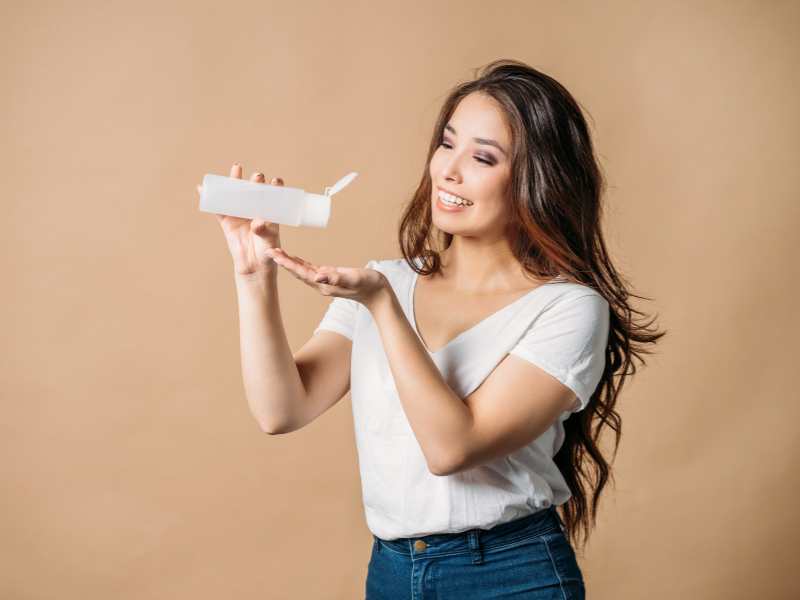 Apply a lightweight styling gel or mousse to your damp hair. This adds grip and texture, making it easier to braid.
Section Your Hair
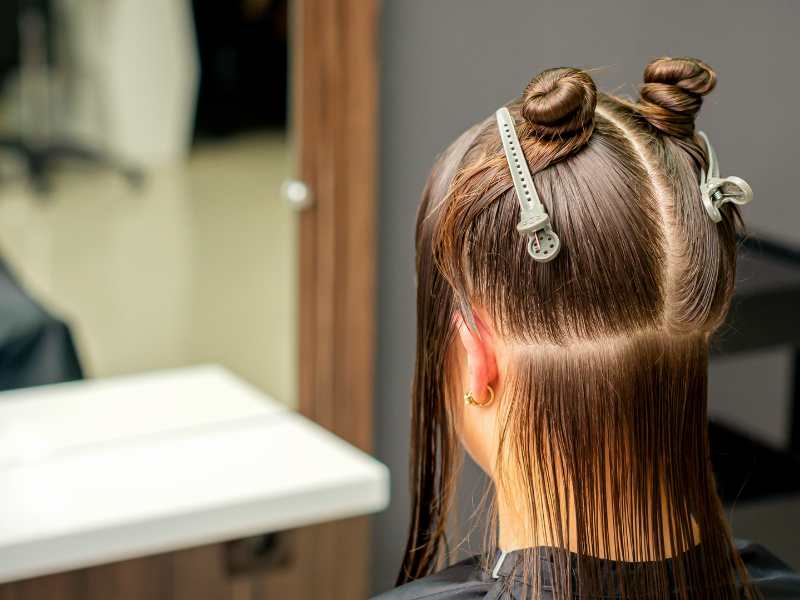 Divide your hair into sections using clips or hair ties. This will make it easier to manage and braid each part.
STEP 2: BRAIDING
Select a Starting Point
 Begin at the front of your hairline. Take a small section of hair, about 1-2 inches wide, as your starting point for the first cornrow.
Divide Into Three Parts
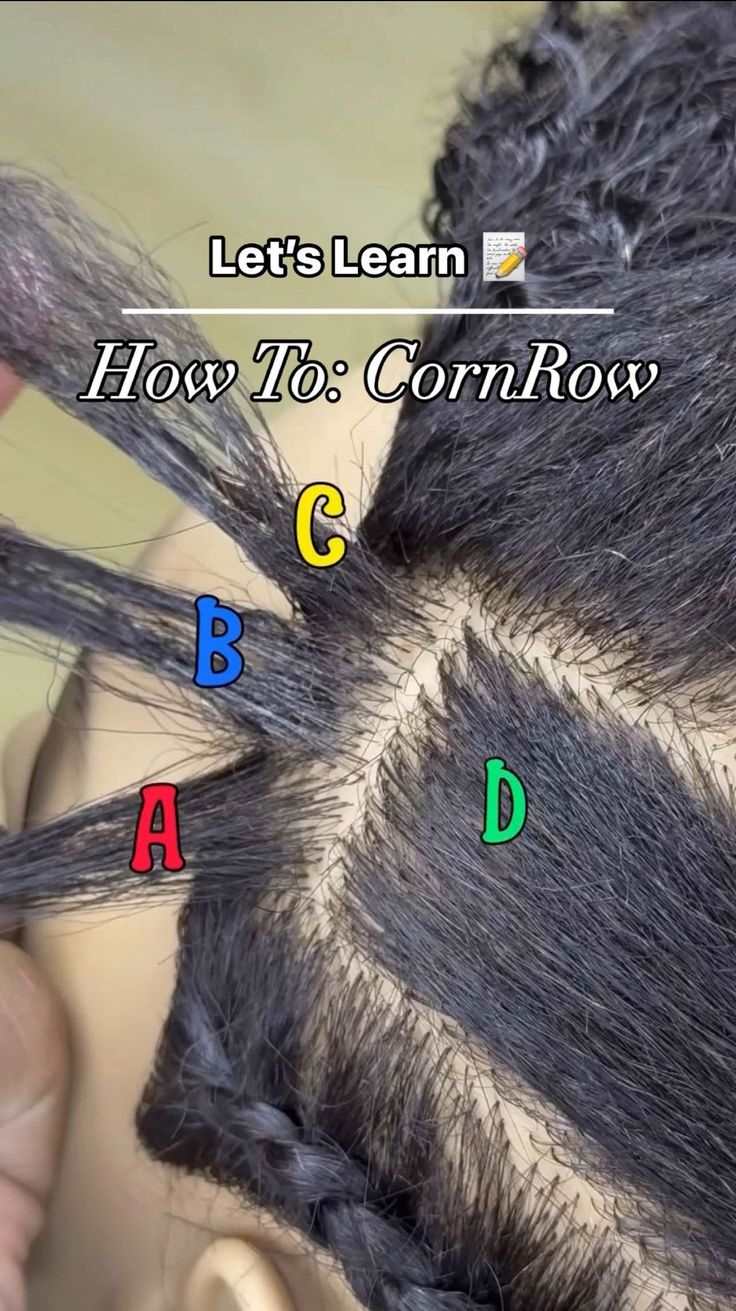
Split this section into three smaller, even parts. Hold them between your fingers.
Begin the Braid
Start by crossing the right section over the middle section. Then, cross the left section over the new middle section. Continue this basic braid pattern.
Add Hair as You Go
As you braid, take small sections of hair from the scalp into the braid. Add hair evenly from both sides to keep the braid uniform and tight.
Continue Braiding
Keep braiding down to the ends of your hair. Make sure the braid is tight and close to the scalp.
Secure the end with a small elastic band.
Repeat for Each Section
Repeat the process for the remaining sections of your hair, ensuring the cornrows are evenly spaced and aligned.
You can create different patterns depending on your preference.
STEP 3: EDGE CONTROL
Apply Edge Control

Use an edge control product to smooth and lay down your baby hairs and edges around your hairline.
This helps create a clean and polished look, making your cornrows appear even more neat and sophisticated.
Use a Brush
Apply the edge control with a small brush or an edge brush for precision. Gently smooth down the baby hairs and edges in the desired direction.
Secure with a Scarf
After applying edge control, wrap your edges with a silk or satin scarf. Leave it on for 10-15 minutes to ensure that the edges set and lay flat.
STEP 4: ADJUST FOR COMFORT
Check Tension
Ensure that your cornrows are not too tight, as this can cause discomfort or even hair breakage.
The braids should be snug but not painful.
Adjust as Needed
If any part of the cornrows feels too tight, gently loosen it by carefully undoing and re-braiding that section with a slightly lighter touch.
Test Movement
Move your head around to check for any tightness or discomfort. Adjust the braids if needed to ensure they are comfortable for daily wear.
STEP 5: FINAL TOUCHES AND CARE
Moisturize Scalp
Apply a lightweight oil or scalp treatment to keep your scalp hydrated.
This prevents dryness and flakiness, especially if you plan to wear the cornrows for an extended period.
Avoid Excessive Friction
Protect your cornrows by avoiding rough or excessive friction from pillowcases and hats.
Use a silk or satin pillowcase to reduce friction and maintain the braids’ longevity.
Regular Maintenance
Keep your cornrows looking fresh by touching up any loose braids and reapplying edge control as needed.
Make sure to maintain a regular hair care routine to keep your hair healthy.
Check and Secure
Examine your cornrows for any loose ends or uneven parts. Use a small amount of styling gel to smooth down any stray hairs.
Set the Style
Use a light hairspray or setting spray to hold the braids in place and ensure they last longer.
Maintenance
To keep your cornrows looking fresh, maintain a clean scalp and apply light oils or serums to prevent dryness.
Avoid excessive manipulation to preserve the style.
 |
ReplyForward |