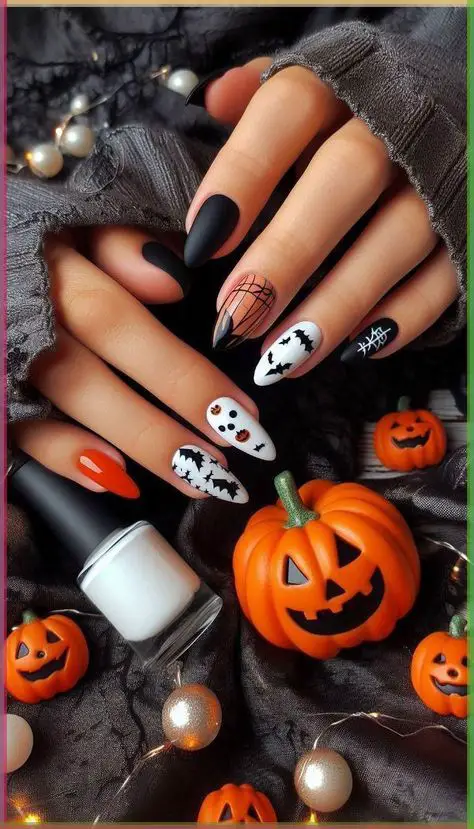
15 Adorably Cute Halloween Nail Art Tutorials That Are Perfect for Beginners (2025)
Skip the scary and embrace the sweet with these beginner-friendly Halloween nail art tutorials designs that are more “aww” than “ahh!”
Halloween doesn’t have to be all about ghosts and goblins.
If you’re looking for nail art that captures the fun spirit of Halloween without the fright, you’ve come to the right place.
These cute Halloween nail art tutorials are perfect for anyone who wants festive nails that are Instagram-ready and easy to do at home.
Why Choose Cute Over Scary Halloween Nails?
Cute Halloween nails are really popular in 2025! They’re perfect for:
Workplace-appropriate Halloween spirit
Family-friendly celebrations
Those who love Halloween but prefer sweet over spooky
Creating content that appeals to all ages on social media
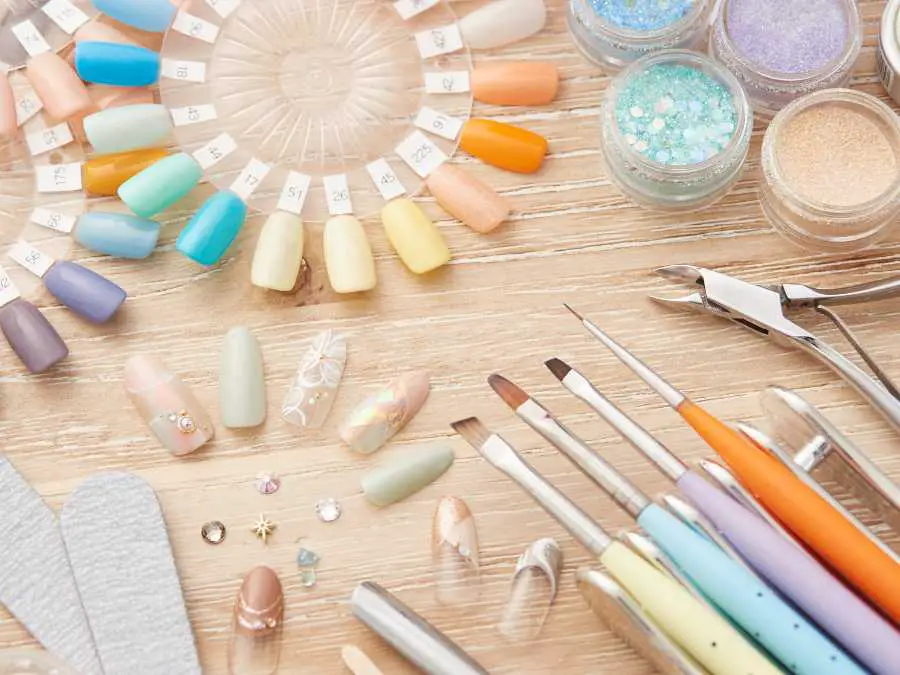
Essential Supplies for Cute Halloween Nail Art
Before we dive into the tutorials, gather these basic supplies:
Base Essentials
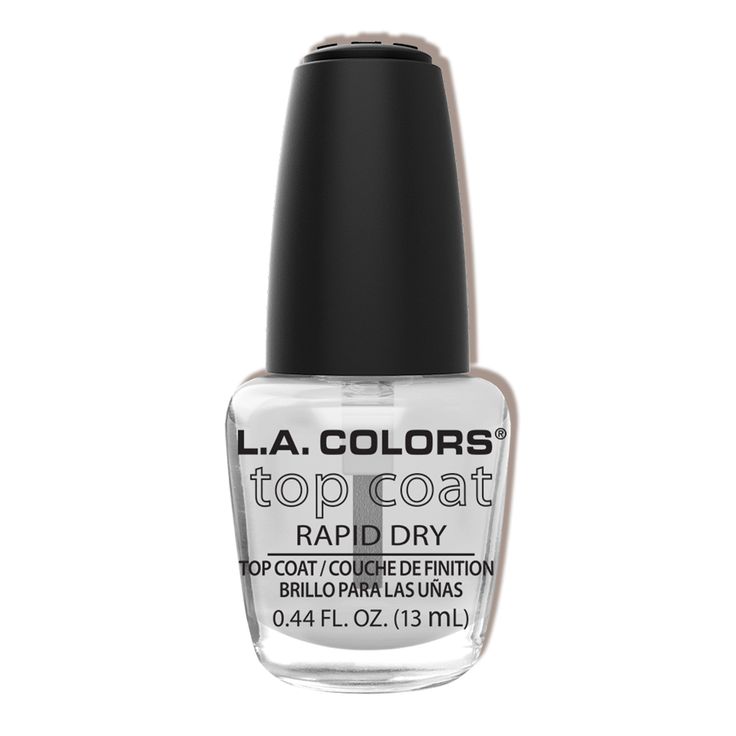
Base coat and top coat
Orange, black, white, and purple nail polish
Thin nail art brush or dotting tools
Toothpicks for fine details
Nail art pens (optional but helpful)
Optional Add-ons
Gold and silver glitter polish
Small rhinestones or nail gems
Halloween-themed nail stickers
Matte top coat for texture variety
15 Cute Halloween Nail Art Tutorials
1. Smiling Pumpkin Faces
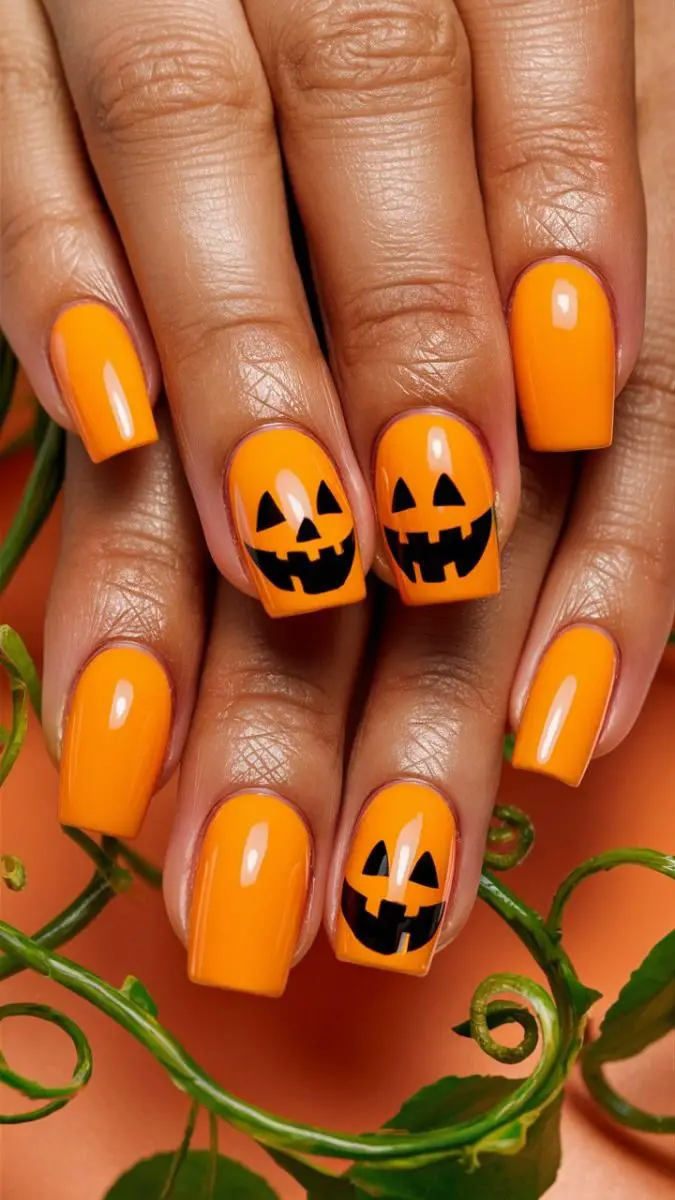
Difficulty: Beginner | Time: 20 minutes
What You’ll Need:
Orange base polish
Black nail art pen
White polish for highlights
Steps:
Apply orange base coat on all nails.
Once dry, use the black pen to draw a simple curved smile.
Add two small dots for eyes.
Add tiny white highlights to make the eyes sparkle.
Seal with the top coat.
Make each pumpkin face slightly different for a more natural, handmade look!
2. Candy Corn Gradient
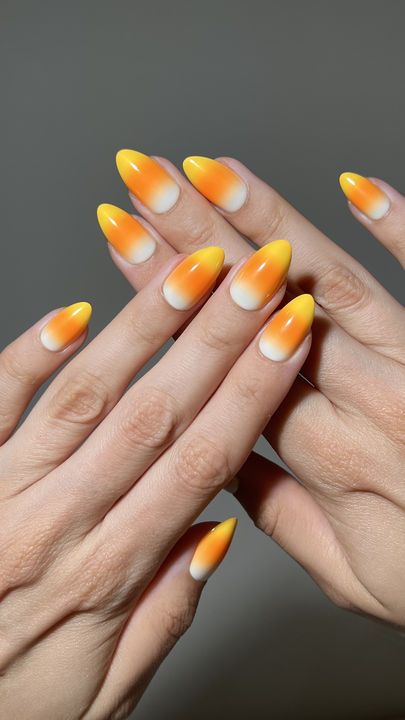
Difficulty: Beginner | Time: 25 minutes
What You’ll Need:
White, orange, and yellow polish
Makeup sponge
Steps:
Paint nails white as the base.
On the sponge, apply yellow, orange, and then white in stripes.
Dab onto the nail tip, working upward.
Repeat layers for opacity.
Clean up edges and seal.
3. Friendly Ghost Dots
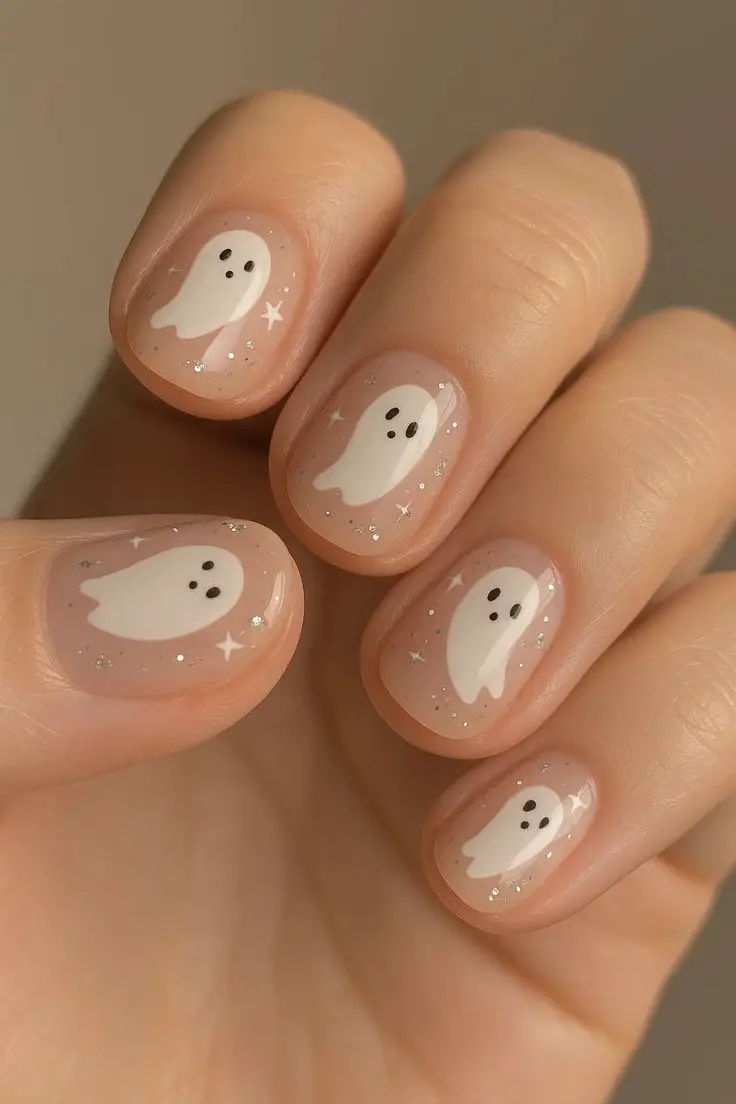
Difficulty: Super Easy | Time: 15 minutes
What You’ll Need:
Pastel purple or gray base
White polish
Black dotting tool
Steps:
Apply base color.
Use a brush to paint small white oval shapes.
Add two tiny black dots for eyes.
Draw a small curved line for a happy mouth.
Top coat to finish.
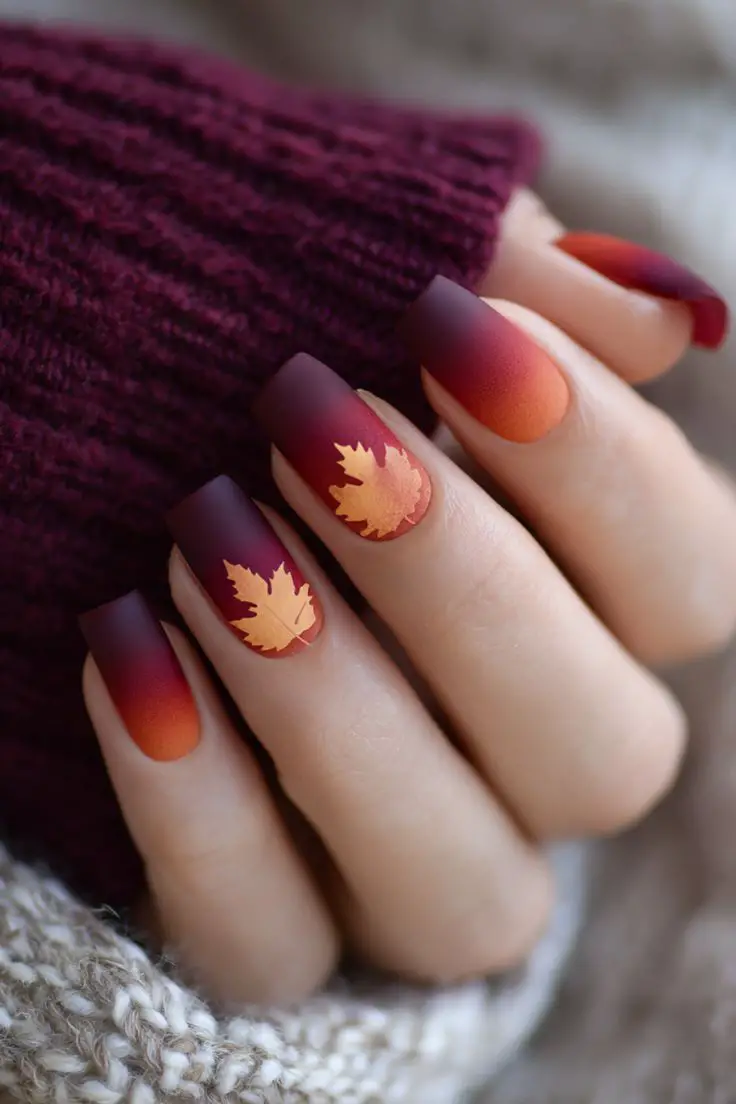
4. Autumn Leaf Accent Nails
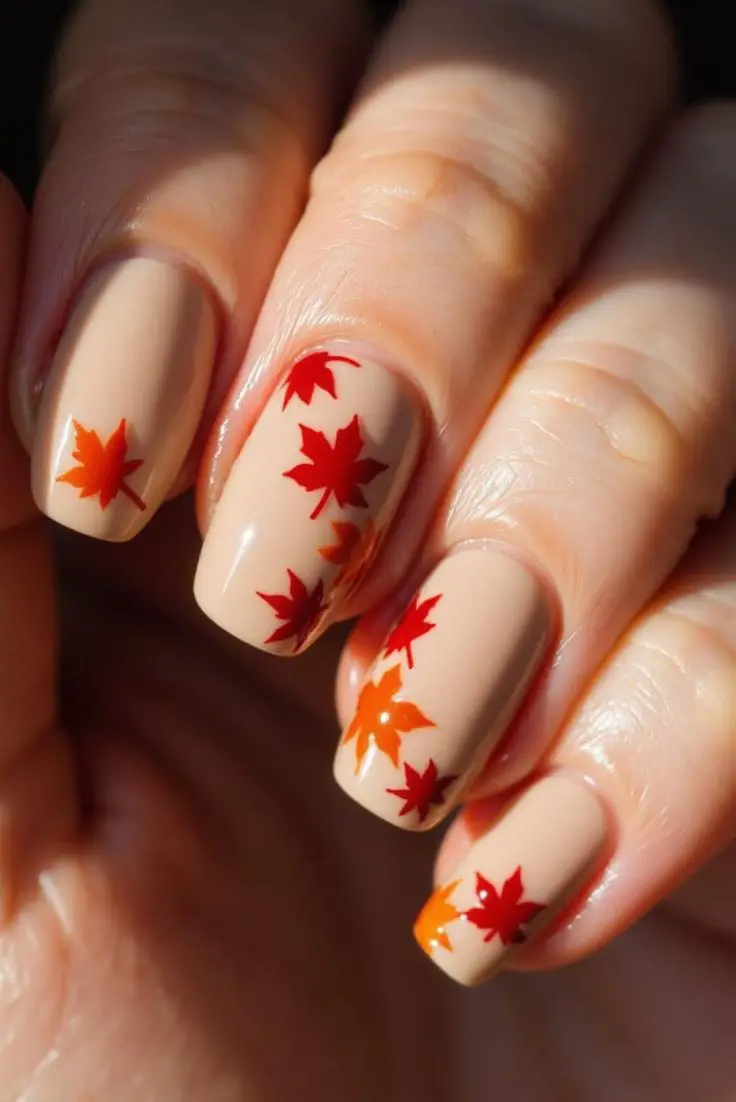
Difficulty: Intermediate | Time: 30 minutes
What You’ll Need:
Nude or light brown base
Orange, red, yellow polish
Thin brush
Steps:
Paint base color on all nails.
Choose 1-2 accent nails.
Paint simple leaf shapes in fall colors.
Add thin brown stems.
Seal with the top coat.
5. Mini Spider Webs (Cute Version)
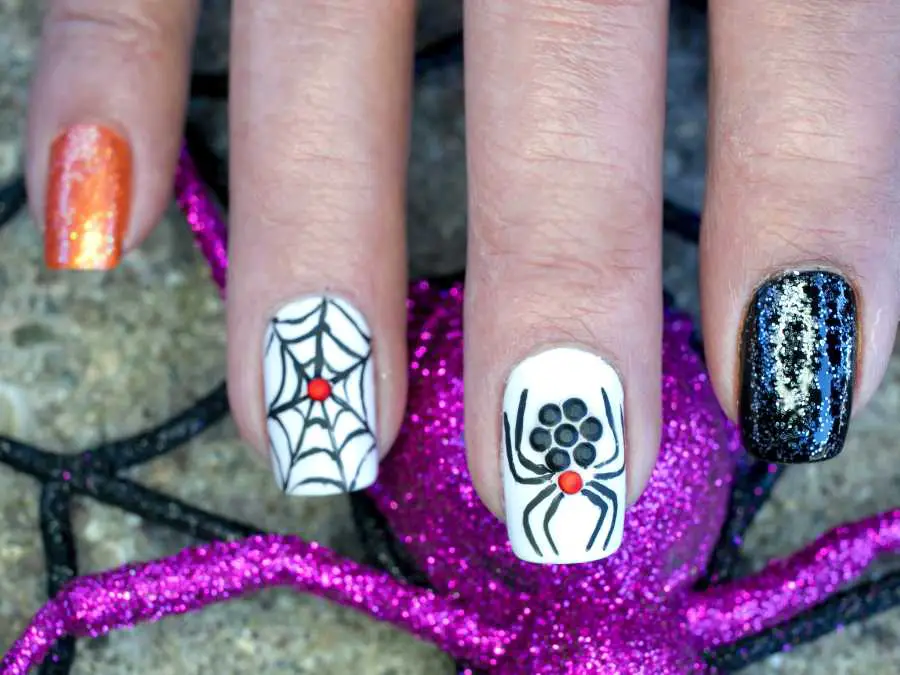 Difficulty: Beginner | Time: 20 minutes
What You’ll Need:
Black or deep purple base
Silver or white polish
Thin brush
Steps:
Apply dark base color.
Draw simple web corner design with white.
Keep lines thin and delicate.
Skip the spider for a cute factor.
Add a subtle glitter top coat.
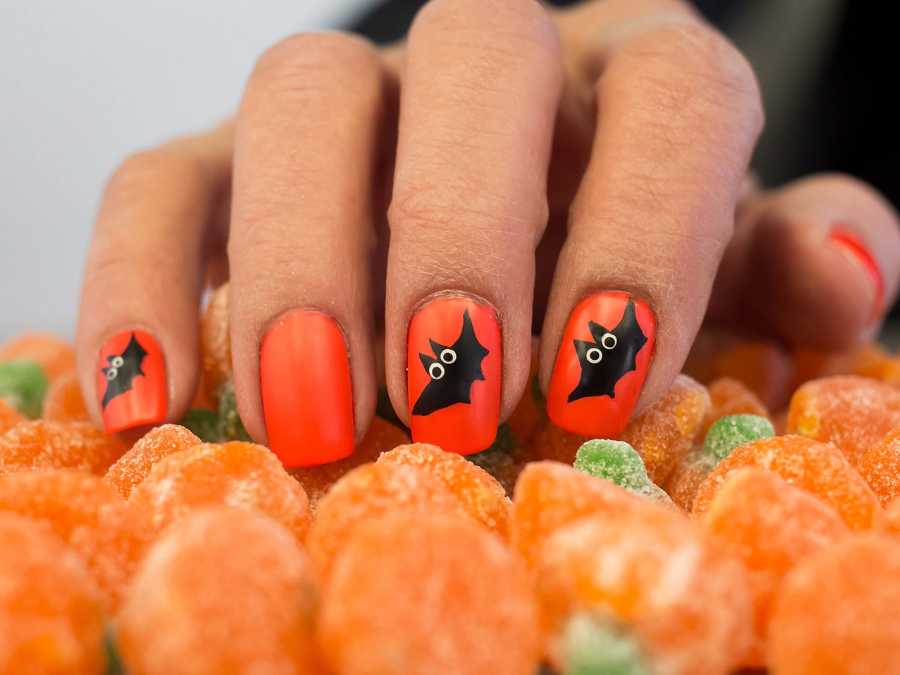
6. Kawaii Bat Wings
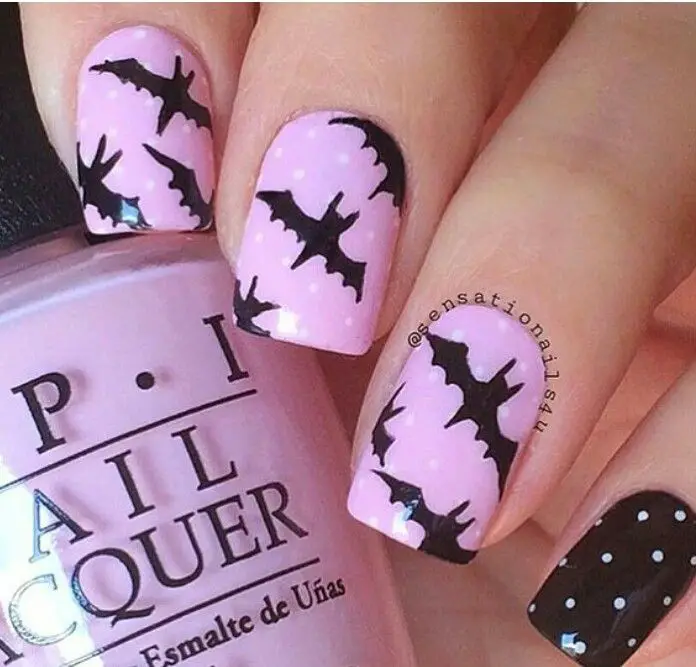
Source
Difficulty: Intermediate | Time: 35 minutes
What You’ll Need:
Light purple base
Black polish
White polish
Pink for cheeks
Steps:
Apply purple base.
Paint a simple black bat silhouette.
Add large white circle eyes.
Tiny pink dots for rosy cheeks.
Small curved mouth.
7. Pastel Witch Hats

Source
Difficulty: Beginner | Time: 25 minutes
What You’ll Need:
Lavender or mint base
Purple or black for hats
Gold glitter polish
Steps:
Apply pastel base.
Paint simple triangle hat shape.
Add a small brim at the base.
Dot gold glitter on the hat.
Top coat to secure.
8. Cute Cat Silhouettes
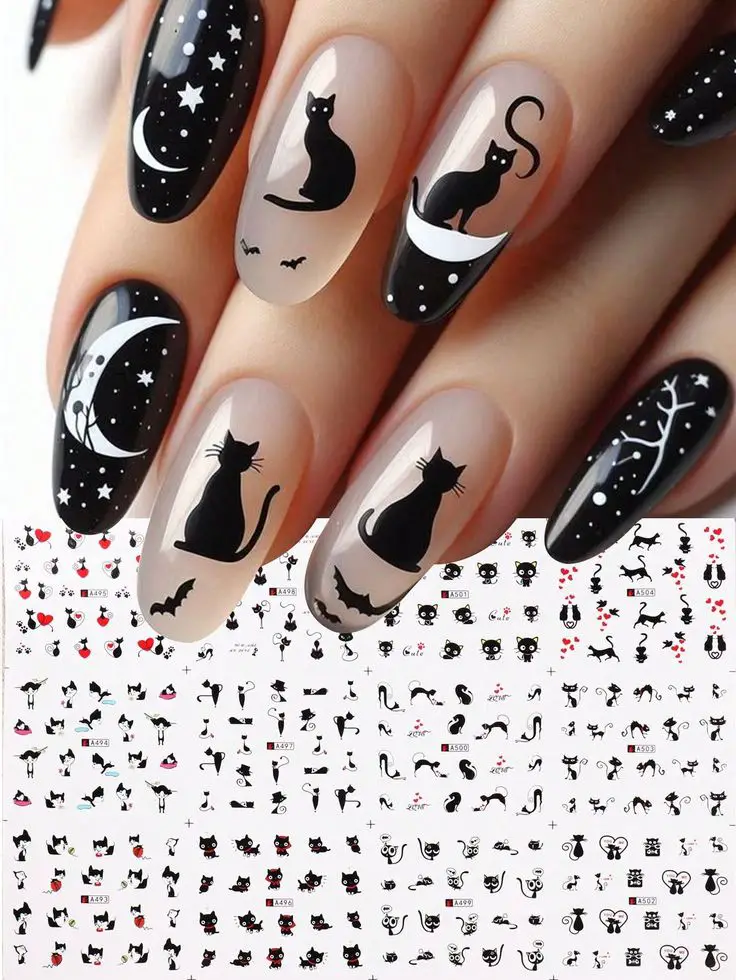 Difficulty: Beginner | Time: 20 minutes
What You’ll Need:
Orange sunset gradient base
Black polish
Yellow for eyes
Steps:
Create an orange-to-pink gradient base.
Paint simple cat sitting silhouette.
Add two tiny yellow eye dots.
Keep the design minimalist.
Seal with glossy top coat.
9. Candy Wrapper Nails

Difficulty: Easy | Time: 15 minutes
What You’ll Need:
Various bright colors
Clear top coat
Optional: actual candy wrapper pieces
Steps:
Paint each nail a different bright color.
For texture, place small candy wrapper pieces under the top coat.
Or create a striped “wrapper” look with contrasting colors.
Use multiple top coats for a smooth finish.
10. Tiny Cauldron Bubbles
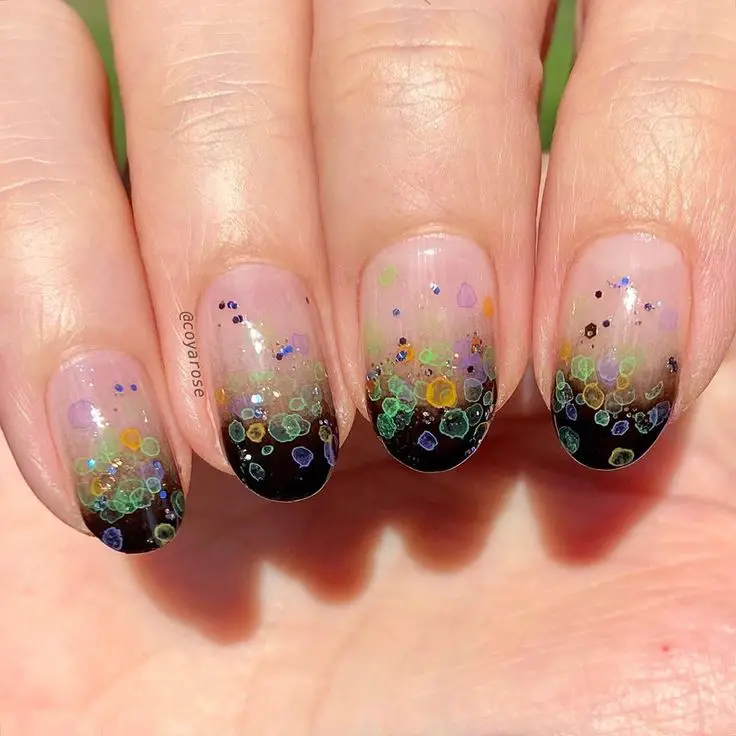
Difficulty: Easy | Time: 20 minutes
What You’ll Need:
Dark green or black base
White polish
Dotting tool
Steps:
Apply dark base color.
Use the dotting tool to create white dots of various sizes.
Cluster some dots together like bubbles.
Add a few dots floating upward.
Matte top coat for a unique finish.
11. Sweet Spider Friends
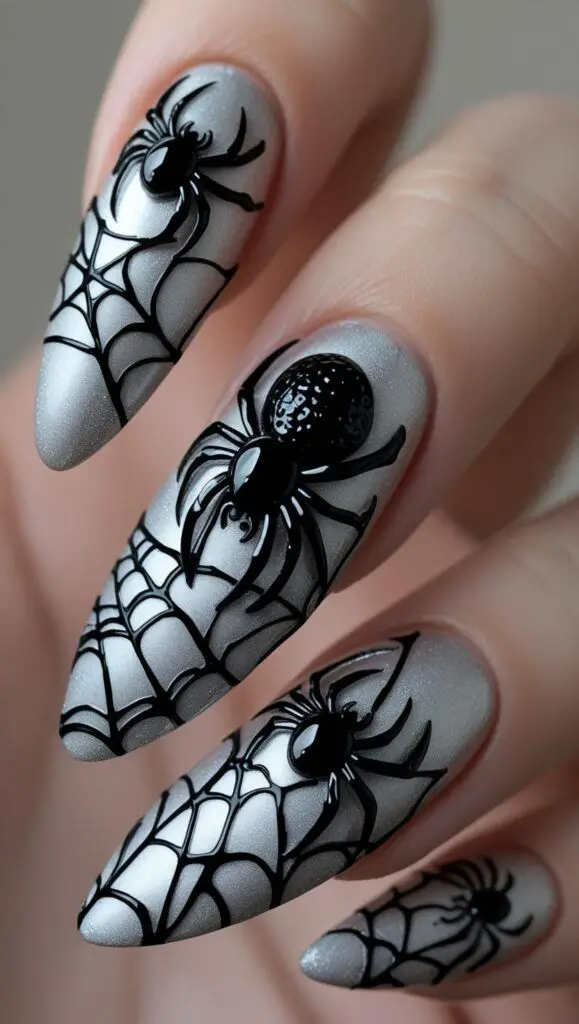
Difficulty: Beginner | Time: 25 minutes
What You’ll Need:
Light gray base
Black polish
White for eyes
Steps:
Apply the gray base.
Paint a small black circle for the body.
Add 8 simple curved legs.
Two white dot eyes.
Optional: tiny pink bow on the head.
12. Harvest Moon Nails
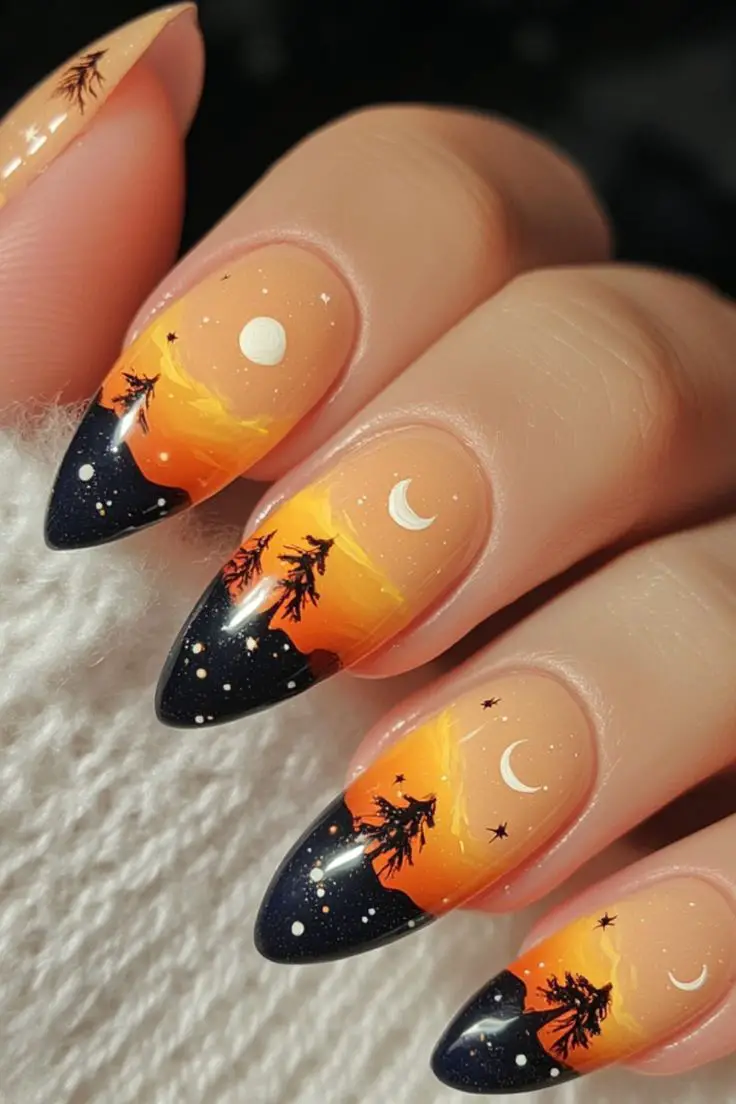
Difficulty: Easy | Time: 15 minutes
What You’ll Need:
Deep blue or purple base
Yellow or gold polish
Orange for accent
Steps:
Apply the dark base.
Paint a simple circle moon on accent nails.
Add orange glow around the moon.
Small white stars are optional.
Glossy top coat.
13. Miniature Jack-o’-Lanterns
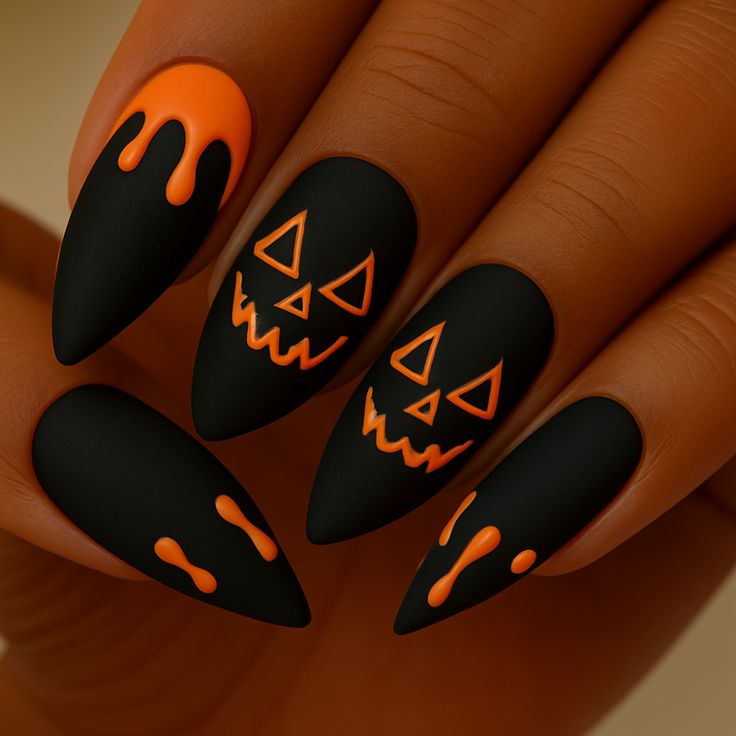
Difficulty: Intermediate | Time: 30 minutes
What You’ll Need:
Orange base
Black detail brush
Green for stems
Steps:
Paint the orange base.
Draw happy triangle eyes (not scary!).
Curved smiling mouth.
Small green stem at the cuticle.
Top coat to finish.
14. Treat Bag Nails

Difficulty: Easy | Time: 20 minutes
What You’ll Need:
Brown base
Various colors for “candy”
Black for bag details
Steps:
Paint the brown base.
Add small colorful dots like candy.
Draw simple bag fold lines in black.
Keep the design playful and sweet.
Seal with the top coat.
15. Falling Leaves Gradient
Difficulty: Intermediate | Time: 35 minutes
What You’ll Need:
Nude base
Orange, red, yellow polish
Sponge for blending
Steps:
Apply the nude base.
Sponge on autumn colors in a gradient.
Add simple leaf shapes with a brush.
Blend colors while wet.
Top coat once completely dry.
Pinterest-Perfect Photo Tips
Styling Your Halloween Nail Photos:
Use autumn props like mini pumpkins, leaves, or cinnamon sticks.
Soft, natural lighting works best.
Include some negative space in your shots.
Show nails from multiple angles.
Add seasonal drinks or treats to your flat lay.
Making Your Cute Halloween Nails Last
Longevity Tips
 Always use a base coat to protect your natural nails.
Apply thin layers and let each dry completely.
Use cuticle oil daily to keep the nail area healthy.
Wear gloves when cleaning or doing dishes.
Touch up chips immediately with matching polish.
When to Start Your Halloween Mani
Do these 1-2 days before Halloween events for best results.
Practice designs beforehand if trying something new.
Keep it simple if you’re doing them the day of parties.
Troubleshooting Common Issues
If Your Design Smudges:
Wait longer between coats.
Use a quick-dry top coat.
Keep your hands still for 15 minutes after the final coat.
If Details Look Wobbly
 Rest your painting hand on a stable surface.
Use a toothpick for ultra-fine details.
Practice the motion on paper first. If Colors Blend When You Don’t Want Them To:
Let the base layer dry completely.
Use thin coats.
Clean the brush between colors.
The Ultimate Halloween Nail Art Supplies Shopping Guide: Everything You Need for Perfect DIY Halloween Nails.
Get salon-quality Halloween nail art at home with this complete shopping guide for beginners and pros alike!
Are you planning to create some fun Halloween nail art but not sure what supplies you need? You’re in the right place.
Even if you’re trying your first cute Halloween nail art tutorials or you’re a seasoned DIY nail artist, having the right tools can make all the difference between frustrating failures and great results.
Why the Right Supplies Matter for Halloween Nail Art
Halloween nail designs often involve intricate details, multiple colors, and special effects that regular nail polish can’t achieve.
The difference between amateur-looking nails and professional results usually comes down to having quality tools and knowing which products work best for specific techniques.
Common Halloween Nail Art Fails (And How Good Supplies Fix Them):
Wobbly lines → Quality brushes with steady tips
Colors bleeding together → Proper base coats and quick-dry formulas
Designs that chip after one day → Professional-grade top coats
Details that look messy → Precision tools like dotting pens
Essential Halloween Nail Art Supplies: The Must-Haves
Base Layer Essentials
1. High-Quality Base Coat
Best Pick: OPI Natural Nail Base Coat
Budget Option: Sally Hansen Hard as Nails
Why You Need It: Prevents staining from dark Halloween colors and helps polish stick better
2. Core Halloween Colors
 Orange: Essie “Orange It’s Obvious” or Sally Hansen “Pumpkin Spice”
Black: OPI “Black Onyx” (most opaque coverage)
White: Essie “Blanc” (pure white, not cream)
Purple: China Glaze “Grape Pop”
Why These Matter: Halloween designs heavily rely on these base colors, and quality matters for true color payoff
Detail Work Tools
3. Nail Art Brushes Set
 Best Investment: Morovan Nail Art Brushes (15-piece set)
What to Look For: Various tip sizes (liner, detail, flat)
Budget Hack: Clean makeup brushes work for larger areas
4. Dotting Tools
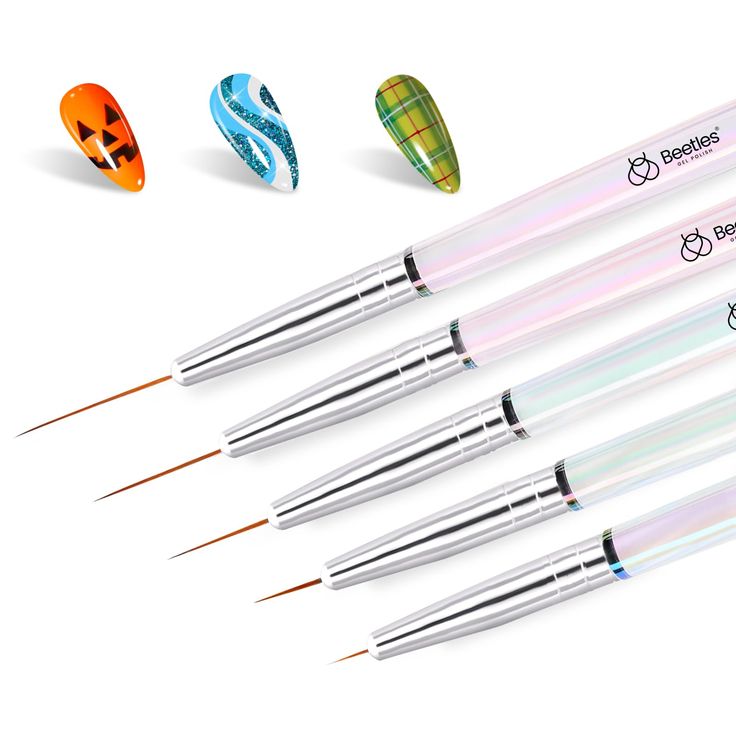
Top Choice: Beetles Dotting Pen Set (5 different sizes)
DIY Alternative: Bobby pins or toothpicks work in a pinch
Perfect For: Spider eyes, polka dots, flower centers, bubbles
5. Nail Art Pens
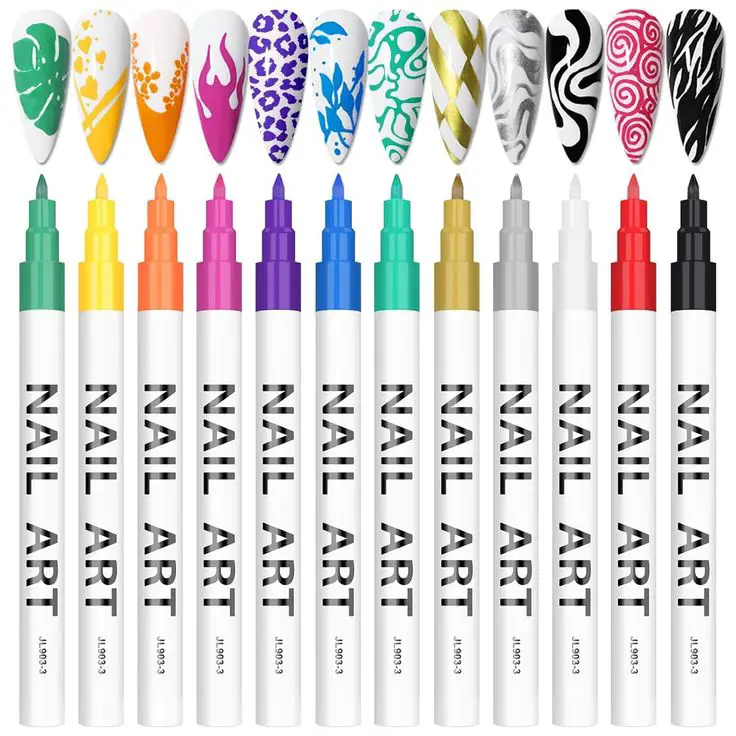
Best for Beginners: Sally Hansen Nail Art Pen in Black
Pro Option: Migi Nail Art Pens (more color options)
Why They’re Great: Perfect for drawing fine lines, writing, and facial features
Special Effect Supplies
6. Glitter Polishes
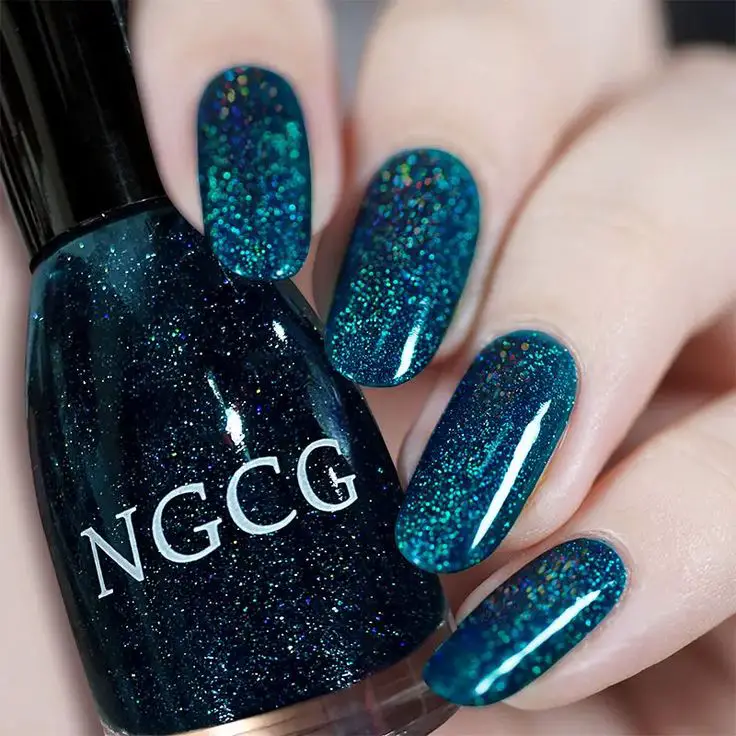
Halloween Stars: Gold, silver, and orange glitter
Recommended Brands: China Glaze or Zoya for even distribution
Application Tip: Always use over base color, never alone
7. Matte Top Coat
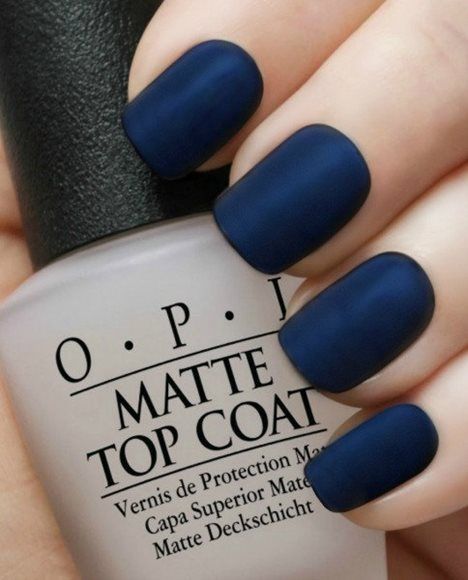
Best Pick: Essie Matte About You
Why It’s Magic: Instantly makes any design look more sophisticated and modern
Perfect For: Witch hat designs, autumn leaves, and mysterious effects
Halloween-Specific Supplies for Advanced Looks
Texture and Dimension Tools
8. Nail Gems and Rhinestones
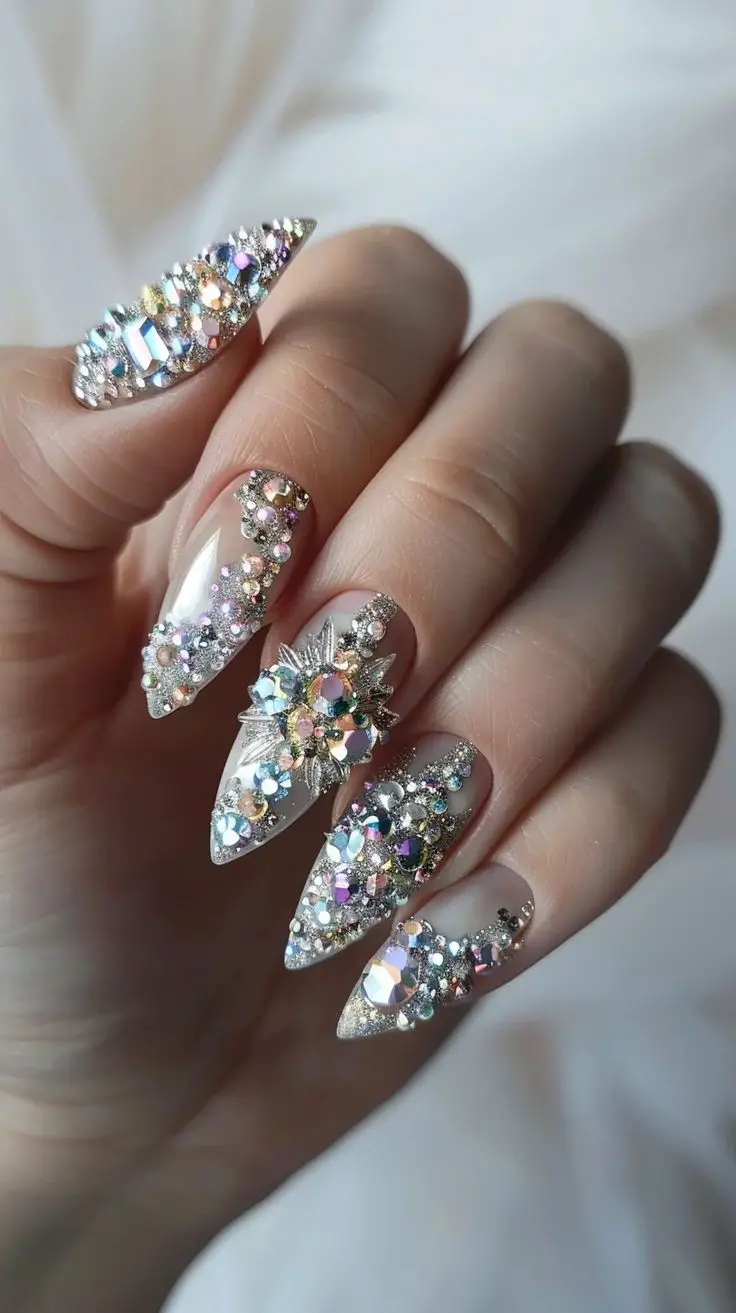
Best for Halloween: Orange, black, and clear stones
Application Tool: Tweezers or gem picker tool
Pro Tip: Apply over a wet top coat for better adhesion
9. Nail Stickers and Decals
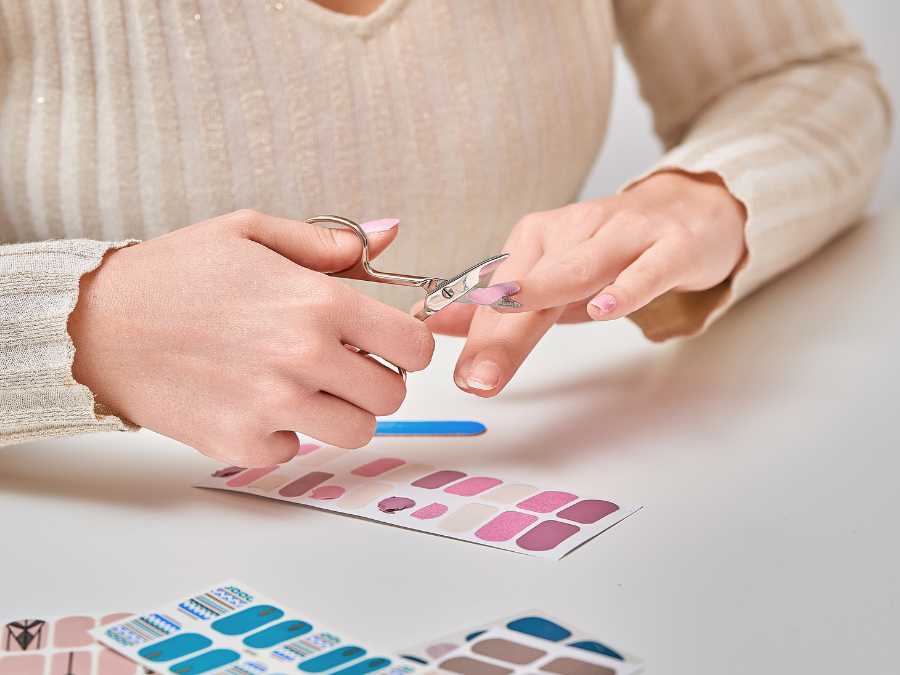 Quality Brands: Nail Art Club, Born Pretty
Best Halloween Options: Bats, spiders, pumpkins, cats
When to Use: A time-saving option for intricate designs
10. Striping Tape
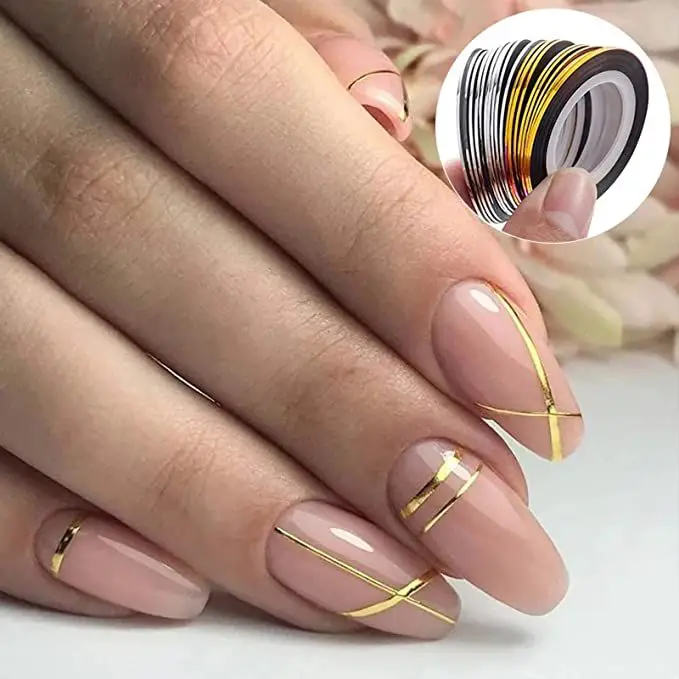
Best Type: Metallic gold and silver
Perfect For: Clean lines, geometric pumpkin designs, and web patterns
Application Secret: Remove while polish is slightly tacky
Advanced Technique Supplies
11. Makeup Sponges
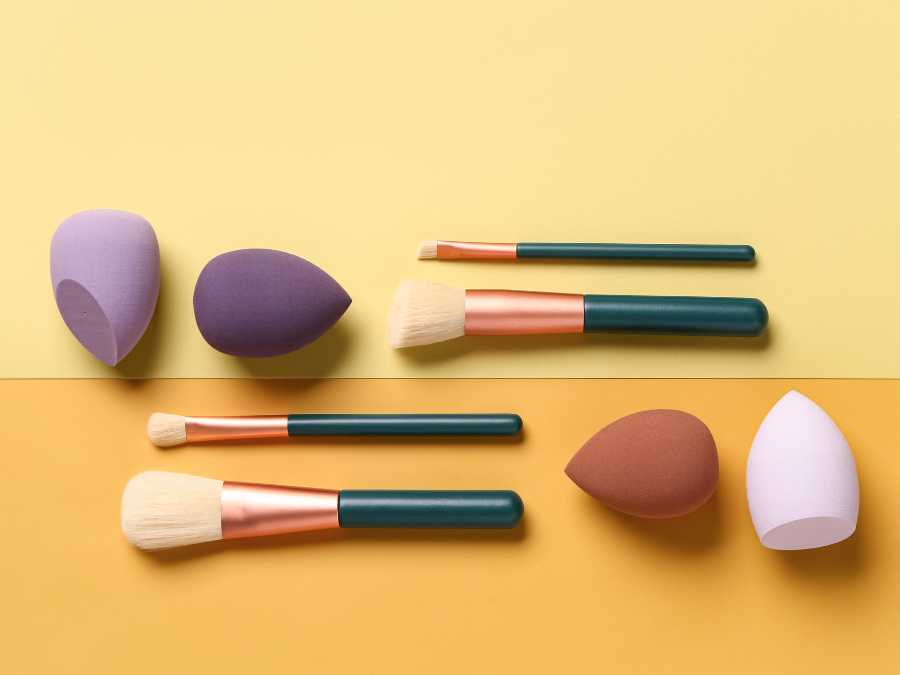 Best Use: Gradient effects, ombre backgrounds
Pro Tip: Dampen slightly for smoother blending
Halloween Applications: Sunset backgrounds and color-changing effects
12. Alcohol or Acetone
 Purpose: Cleanup, removing mistakes, and creating marble effects
Tool Pairing: Small brushes for precision cleanup
Budget-Friendly Halloween Nail Art Kit (Under $25)
Starter Kit Shopping List:
Sally Hansen base coat ($3)
Basic orange, black, white polish ($12 total)
Toothpicks for detail work (free!)
Dollar store makeup sponges ($1)
Basic top coat ($4)
Black Sharpie for emergency touch-ups ($2)
Total: $22 – Perfect for trying multiple cute Halloween designs!
Professional-Level Kit (Under $75)
Upgraded Kit Includes:
OPI base and top coats ($15)
6 high-quality Halloween colors ($30)
Complete brush set ($12)
Dotting tools and nail pens ($10)
Gems and striping tape ($8)
Total: $75 – Everything you need for salon-quality results at home!
Where to Buy Halloween Nail Art Supplies
Best Online Options:
Amazon: Largest selection, quick shipping, bundle deals
Sally Beauty: Professional quality, frequent sales
Ultra/Sephora: High-end brands with points rewards
Born Pretty Store: Specialty nail art tools with international shipping
In-Store Shopping Tips:
Dollar Tree: Great for practice polishes and basic tools
CVS/Walgreens: Convenient for last-minute supplies
Target: Good selection with seasonal Halloween displays
Professional Beauty Supply: Best quality and bulk options
Money-Saving Tips for Halloween Nail Art Supplies
Smart Shopping Strategies:
Buy during off-season sales (November-December for next year)
Join store loyalty programs for exclusive discounts
Look for bundle sets rather than individual items
Check discount stores like TJ Maxx for name-brand polishes
Use coupon apps like Honey or Rakuten for online purchases
DIY Supply Alternatives:
Use old nail polish bottles for mixing custom colors
Clean mascara wands make great detail brushes
Scotch tape works for clean lines (remove while tacky)
Cotton swabs with acetone for cleanup
How to Organize Your Halloween Nail Art Supplies
Storage Solutions
Tackle box: Perfect for separating by color or tool type
Spice rack: Great for displaying polish colors
Ice cube trays: Ideal for sorting small gems and tools
Mason jars: Store brushes upright to maintain their shape
Preparation Tips
Lay out all supplies before starting
Have good lighting (daylight bulbs work best)
Keep cotton pads and acetone nearby for mistakes
Work on one hand at a time for the best results
Maintaining Your Halloween Nail Art Supplies
Polish Care
 Store upright in a cool, dry place
Roll between palms instead of shaking
Add nail polish thinner (not remover) if too thick
Clean the brush with acetone after each use
Tool Maintenance
Wash brushes immediately after use
Store brushes flat or hanging to keep their shape
Replace dotting tools when tips become damaged
Keep gems and decorations in sealed containers
Common Supply Mistakes to Avoid
Don’t Do This
Using regular craft paint instead of nail polish
Skipping base coat to save time
Buying the cheapest brushes
Forgetting to seal designs with top coat
Using old, thick polish
Do This Instead
Invest in at least one quality brush set
Always use base and top coat
Test new products on practice nails first
Clean tools immediately after use
Replace supplies when they stop performing well
Seasonal Supply Planning
October Prep Checklist
Stock up on orange and black polishes (they sell out fast!)
Order specialty Halloween decals early
Practice techniques before party season
Clean and organize existing supplies
Post-Halloween Storage
Clean all brushes thoroughly before storing
Check expiration dates on polishes
Note which supplies you ran out of for next year
Store seasonal items together for easy access
Ready to Create Amazing Halloween Nails?
With the right supplies in your nail art collection, you’ll be amazed at what you can create at home.
Even the most talented nail artists started with basic supplies and worked their way up.
The key is to begin with good basics and add special items as you improve your skills.
Next Steps
Choose your budget level and shopping list above
Gather your supplies and set up your workspace
Check out our 15 cute Halloween nail art tutorials for step-by-step designs
Start with simpler designs and work up to more complex looks
Take photos of how you organize your supplies and your nail art process – you never know when you’ll want to recreate a look or remember which products worked best for you!
Ready to shop? Pin this guide and use it as your checklist for creating adorable Halloween nails this season!
These cute Halloween nail art tutorials show that Halloween nails can be festive without being scary.
Whether you’re heading to a family party, work celebration, or just want to embrace the season, these designs offer the perfect balance of holiday spirit and everyday wearability. Know that, nail art is supposed to be fun.
Don’t stress about perfection. The slightly imperfect, handmade look is trendy and adds to the charm of DIY nail art.
Which design will you try first? Pin your favorites and tag us in your creations. We love seeing your cute Halloween nail art come to life.